How to Make Quick Pan Pizza in 3 Hours | Stand Mixer Pizza Dough Recipe
An EASY and FAST homemade pan pizza just as many families make it in Italy. The perfect pizza dough recipe for a stand mixer like KitchenAid—ready in 3-4 hours!
Equipment
- 1 baking stone optional
- 2 baking trays Here? Rectangular 16 x 12 in or 40 x 30 cm trays
- 1 stand mixer optional (for mixing and kneading the dough)
Ingredients
- 9 cups bread or pizza flour 9 cups = 2.2 lbs; Choose a flour with a 'W' of 280-320
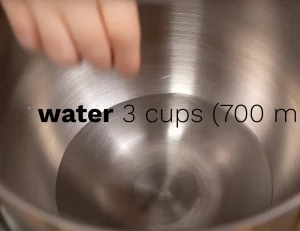
- 3 cups water
- 1 tsp dry instant or 'fast rise' yeast 1 tsp dry yeast = 6 grams of fresh yeast
- 4 tsp fine salt
Instructions
Make the Pizza Dough
- Combine the yeast with the water. You can use fresh yeast or dry instant yeast.3 cups water, 1 tsp dry instant or 'fast rise' yeast
- Add these ingredients to the stand mixer bowl if using a stand mixer to prepare this dough. Fit the stand mixer with the paddle attachment.Add the flour and salt to the water and yeast.
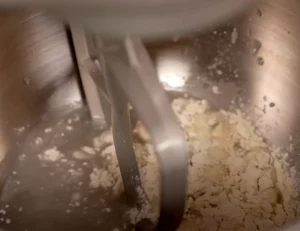
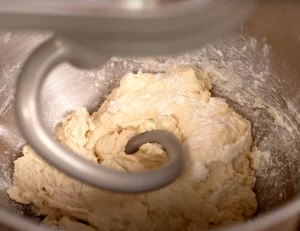
- Mix the dough with the paddle attachment until the dough forms a ball.
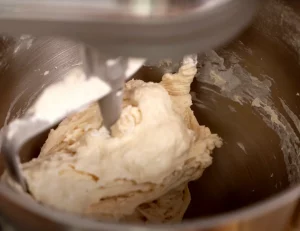
- Time to knead the dough! If using a stand mixer, replace the paddle attachment with the dough hook. Knead the dough on low speed for about 10 minutes.
Easy Folds and 1st Dough Proof
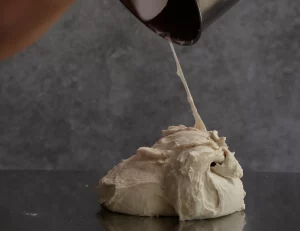
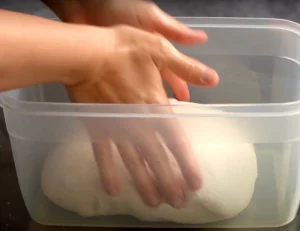
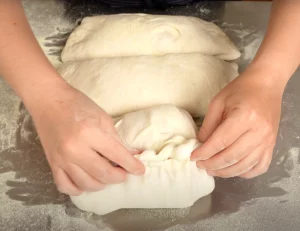
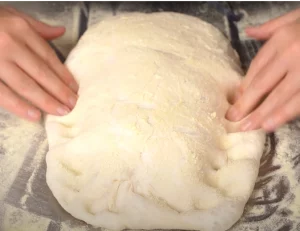
- Transfer to the dough to a lightly oiled work surface. Give the dough a series of book folds until the dough can no longer be folded. Let the dough rest (covered) for 10 minutes.
- Give the dough another series of book folds until the dough can no longer be folded. Let the dough rest (covered) for another 10 minutes.
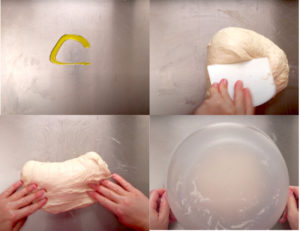
- Give the dough a final series of book folds until the dough can no longer be folded. Let the dough rest (covered) for another 10 minutes.
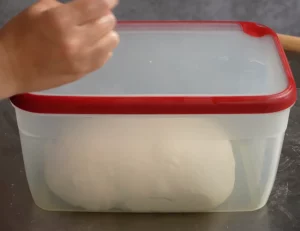
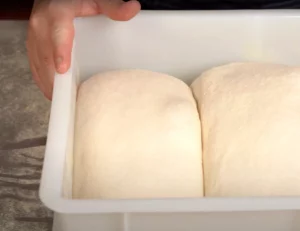
- Transfer the dough ball to a large container the same shape as the tray in which you plan to bake the pizza. So, choose a rectangular container if you plan to bake a rectangular pan pizza. The dough will be much easier to stretch to the shape of the tray if you have proofed it in more or less the same shape as your tray.
- Let the dough proof (covered) in the container for about an hour—or until it has doubled in size. The ideal proofing temperature is 82°F (28°C). To turn your oven into a proofing box, set a hot bowl of water next to your covered dough in an oven that is turned off. This will provide the dough with the ideal temperature and humidity for proofing!
2nd Dough Proof
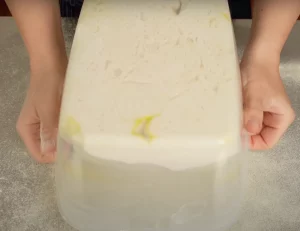
- After the first proof, transfer the dough to a lightly floured work surface. Turn the container over and let the dough gently fall out, retaining its shape.
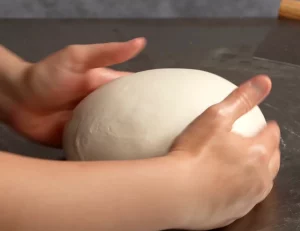
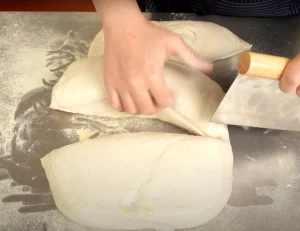
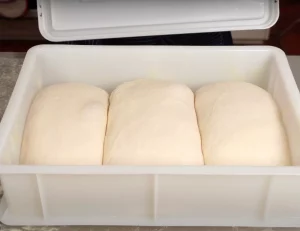
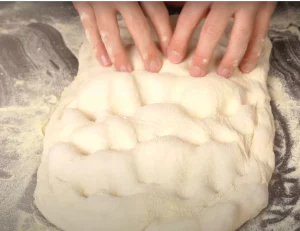
- Sprinkle the top of the dough with flour (preferably semolina flour). Divide the dough into 3 equal pieces.
- Give each piece of dough another round of folds to trap air into the dough. Try to again give them the same basic shape as your baking tray (so, rectangular dough balls for a rectangle baking tray).
- Proof the pieces of dough (covered) for 2 more hours.
- You can transfer the dough balls to another, larger container for proofing them. Or, cover them with a damp tea towel. The container is better because it helps the dough maintain the shape you've given them as they rise.
Stretch the Pizza Dough
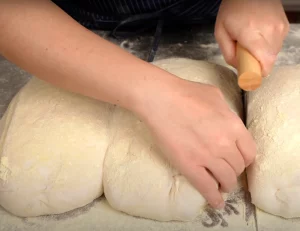
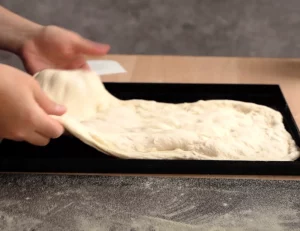
- Generously sprinkle your work surface with flour (preferably semolina). If needed, gently separate the dough pieces from one another.
- Stretch each pizza dough to the size of the baking tray. First, press down the borders with your fingertips.
- Then use your fingertips to press down and out on the dough. Use your fingers to gently pull the sides, if needed, to enlarge the dough to the size of your baking tray.
- Shake off the excess flour and transfer the stretched pizza dough to the baking tray. Use your fingertips to press or stretch gently as needed to extend the dough to the edges of the tray. If the dough won't reach the edges of the baking tray, let it rest (and rise) for 5 more minutes. This time will let the dough both relax and proof a bit longer, giving you more dough to work with. At this point, you should be able to reach the sides of the tray.
Bake the Pizzas
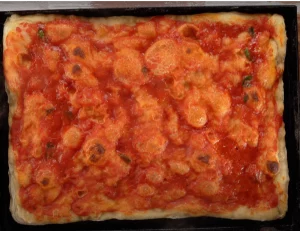
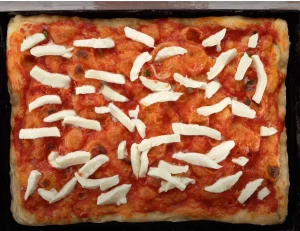
- Add any condiments to the stretched pizza dough (except cheese) and...Bake the pizza (one at a time) in a pre-heated 572°F (300°C) 'static' oven for 9 minutes. Or, bake at 500°F (250°C) for 15 minutes. You want to bake at the highest temperature that your oven will allow. Bake the pizza in the lower third of the oven. Better yet? Pre-heat the oven with a baking stone sitting on the oven floor or on the lowest rack of the oven. To bake the pizza, we set the pizza (in the baking tray) directly on the baking stone.
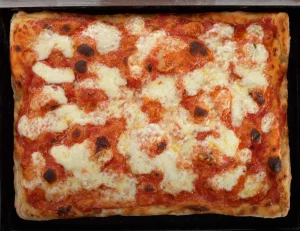
- Add any cheese and return the pizza to the oven for 3 minutes—this time on 'fan' (convection) if your oven has that setting. Finishing on 'fan' just helps the pizza crust to crisp up, if you like that texture.
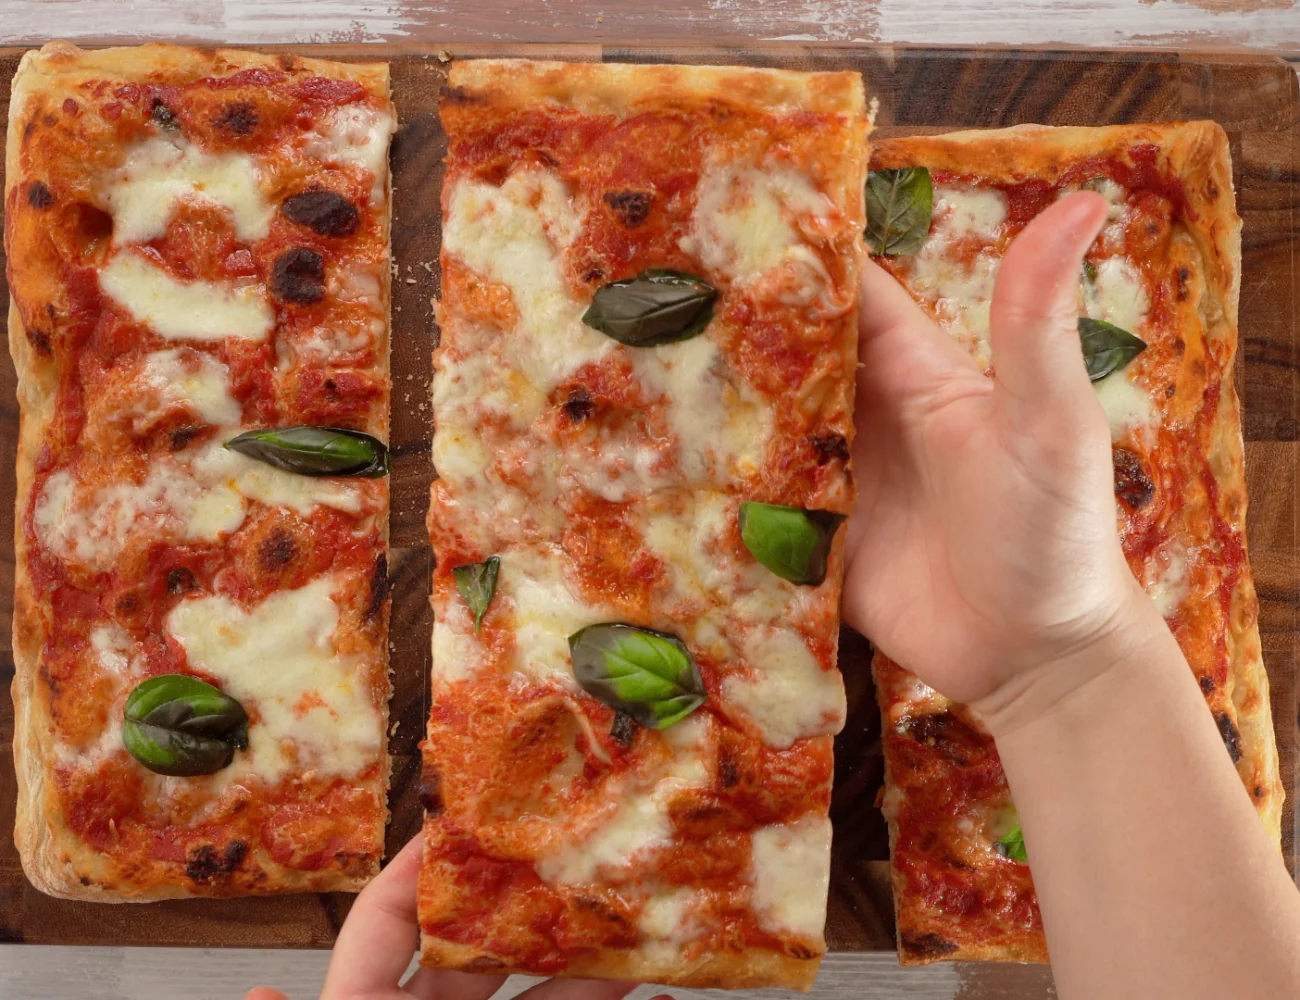
- Finish the rest of the pizzas in the same way and... Buon appetito!
Video
Notes
Flour Matters!
Many people mistakenly believe that a weaker flour can be used just because a pizza dough will be proofing for just a few hours. But this is not true. Why? Because when choosing flour for making pizza, proof time is not the only consideration; You also need to consider how much water you are adding to the dough (or rather, the water to flour ratio). And, you need to consider the temperature that you will be using to proof your pizza dough.
We recommend a medium- high strength of flour -The strength of flour is indicated on flour packaging with a ‘W’ . You want to look for flour with a ‘W’ of 280 - 320 for this pizza dough recipe.
This is the flour we prefer to use in Italy (affiliate link)—a flour popular in Italian pizzerias, and luckily available on Amazon!
Semolina Flour: Do You Need it?
We recommend using semolina flour for dusting the work surface and stretching the dough. Why? Semolina flour is coarser (a bit like fine cornmeal). It is great for preventing the pizza dough from sticking. Unlike white flour, it will not cake onto your pizza dough, weighing it down and creating unappetizing clumps of flour on your crust.
Why So Many Folds?
The folds we recommend are easy! They are simply book or letter folds, designed to trap air into the dough—providing the pizza dough with the structure needed to achieve a great rise. It is because of the folding technique that this pizza dough recipe can still deliver a soft pizza with a shorter rise time.
Tried this recipe?Let us know how it was!