There is nothing more heavenly than soft, homemade angel food cake. With this easy Angel Food Cake recipe (tested and perfected by our team of baking experts), you’ll get perfect results every time.
And when we say easy, we mean the easiest! You can literally do every part of this easy angel food cake recipe with a stand mixer or electric hand mixer— no folding by hand required!
Or, learn how to make our Zuppa Inglese recipe, a popular Italian dessert made with our easy sponge cake recipe.
Watch the Video Recipe!
Learn how to make our easy Angel Food Cake recipe with our video recipe:

Subscribe to our YouTube Channel
More video recipes? Subscribe to our YouTube Channel (it’s FREE) and click the bell to get notifications when we release a new video recipe!
An Easy Angel Food Cake Recipe – No Folding!
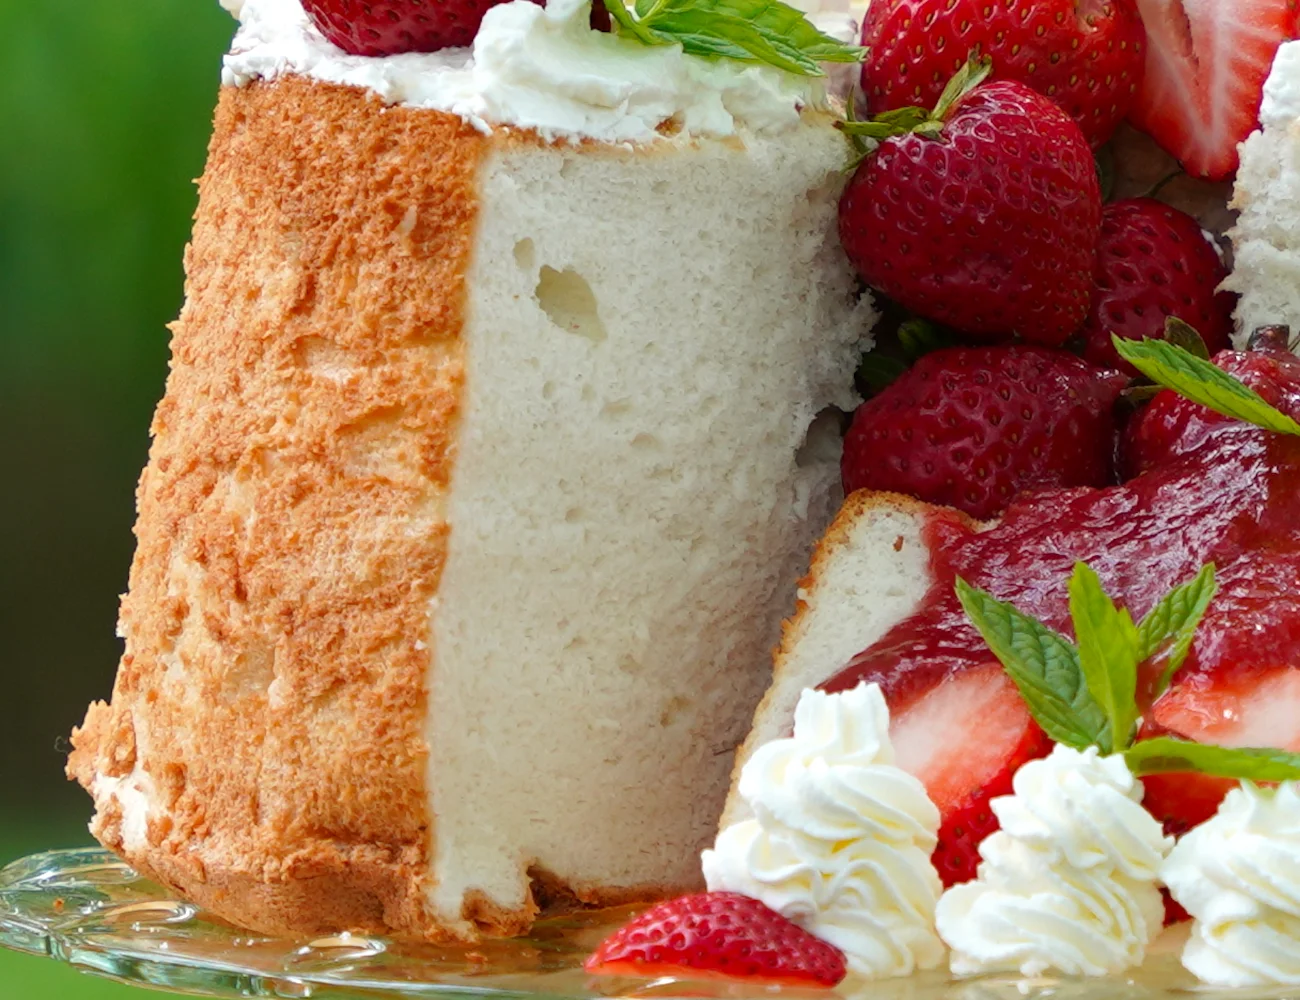
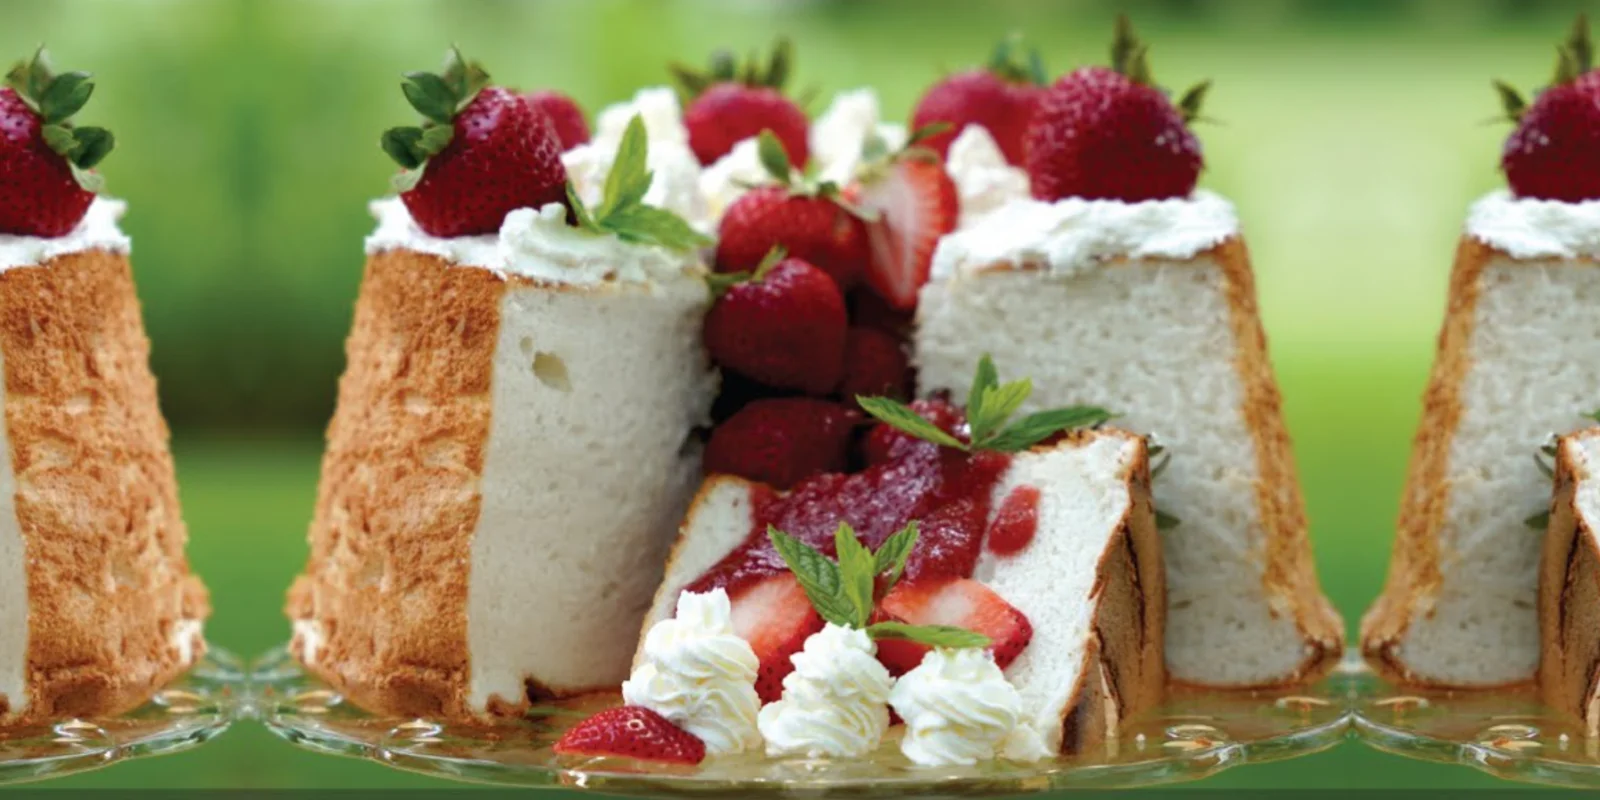
When an Angel Food cake is good, it’s real good! The best Angel Food cakes are tall and moist with a heavenly melt-in-your-mouth taste. Sadly, most store-bought Angel Food cakes don’t deliver. And many homemade angel food cake recipes insist you need to fold in the flour— a lot of work! And folding in ingredients is not practical for any home cooks with arthritis or similar challenges.
The good news? After experimenting, we’ve determined that you can make a perfect Angel Food cake without folding any ingredients by hand.
You can simply use your stand mixer or electric hand mixer for the entire cake making process. Not only were our Angel Food cakes as tall as they were when we folded the flour in by hand—but they were taller!
Here’s how we do it:
How to Make Angel Food Cake
The first step to making an Angel Food cake worthy of the name is separating the eggs the right way. We need only egg whites for an Angel Food Cake. Those whites must not contain any yolk. It’s easy to cleanly separate the yolks from the whites when you know these tricks:
- separate eggs cold
- use your hand to catch the yolk
- use a clean bowl to store and whip egg whites
How to Separate Eggs for this Angel Food Cake Recipe
Always separate eggs when they are really cold—right out of the refrigerator! The yolks in cold eggs will hold their shape and are unlikely to break and bleed into the whites.
Why does this matter? We need only egg whites for Angel Food Cake. Egg whites will not whip well if there is any yolk at all in them.
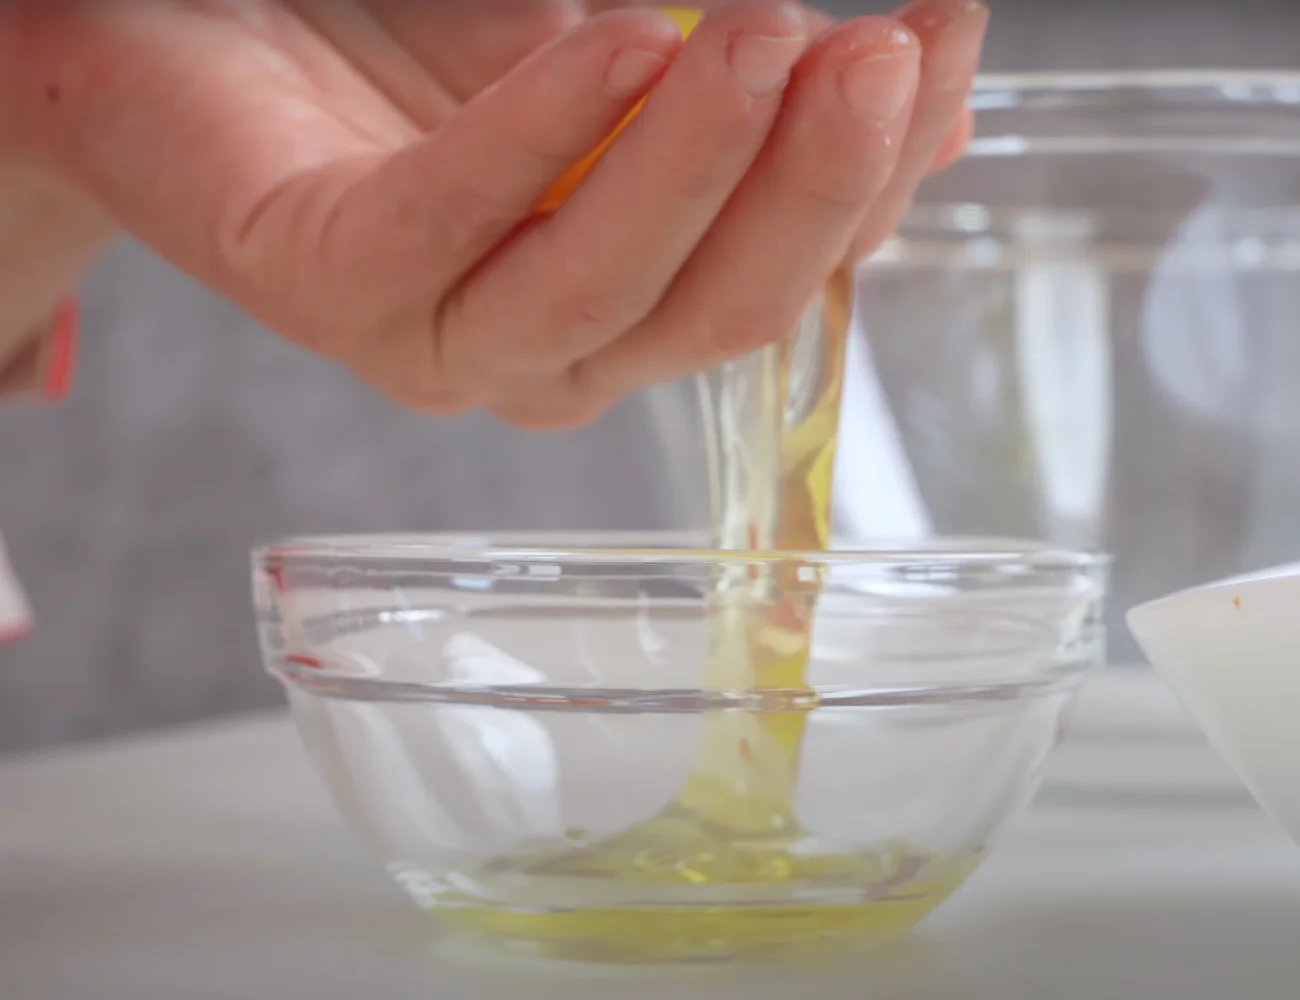
To separate an egg, crack the egg. Then, pour the yolk and white into your hand over the bowl where you are putting your whites. Let the whites pass through and around your fingers, using your hand to hang onto the yolk. Transfer the yolk to a separate bowl.
Why use your hands instead of the egg shell or another nifty store-bought device for separating the yolk from the white? Honestly, your hands are cheaper and more gentle. The egg shell can sometimes pierce the egg yolk and then the yolk bleeds into the white. Bad news!
If you are a beginner in separating eggs, you can even crack every egg over a new cup or bowl. Then, transfer the white to a final bowl. The advantage? If you accidentally break the yolk of one egg, you don’t contaminate all of the whites.
Use Clean Bowls for Storing and Whipping
When whipping eggs, always start with a clean bowl. Why?
Fat residue will inhibit eggs from whipping to their full potential. In fact, that’s why sponge cake variations that include butter usually include baking powder as well. Eggs won’t whip as well when fats like oil or butter are added from the start, and whipped eggs will deflate some when these ingredients are added later.
Additional fat is never added to an Angel Food cake recipe.
Egg Temperature Matters
Start to whip the eggs at medium speed and immediately add the recommended hot water. In fact, we recommend using cold eggs and simply adding the hot water to adjust the temperature. Why?
Eggs will whip better and produce a more stable whip when they are warm. While some recipes simply recommend to let the eggs sit out at room temperature for an hour, we’ve found this leaves too much room for error.
Also, even if you need warm egg whites for whipping, you still need to separate the eggs when they are cold. Otherwise, you won’t be able to cleanly separate the yolks from the whites. And of course we only need the whites for this recipe.
We’ve done countless tests and adding a bit of hot water really does create the perfect egg whipping temperature. No need to check the temperature of the water. If the water feels ‘hot’ but is not boiling, you are good to go!
Another advantage to adding a bit of hot water? Moisture! As soft as sponge cakes (including Angel food cakes) are, cakes with only eggs and no other added fats can sometimes taste dry. This easy Angel Food Cake recipe will be the moistest version you’ve ever had!
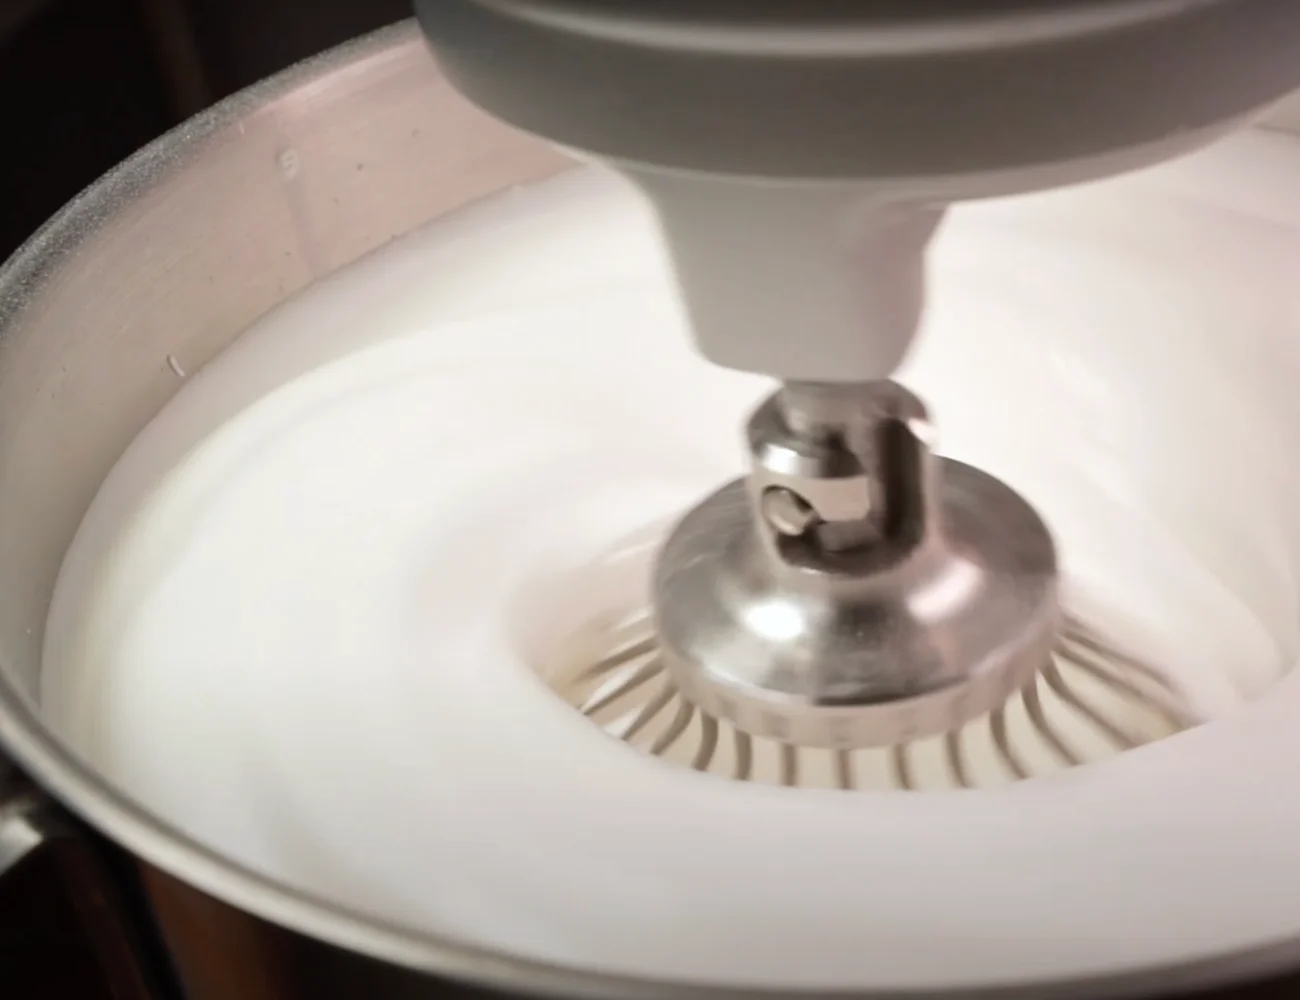
Whip It, Whip It Good!
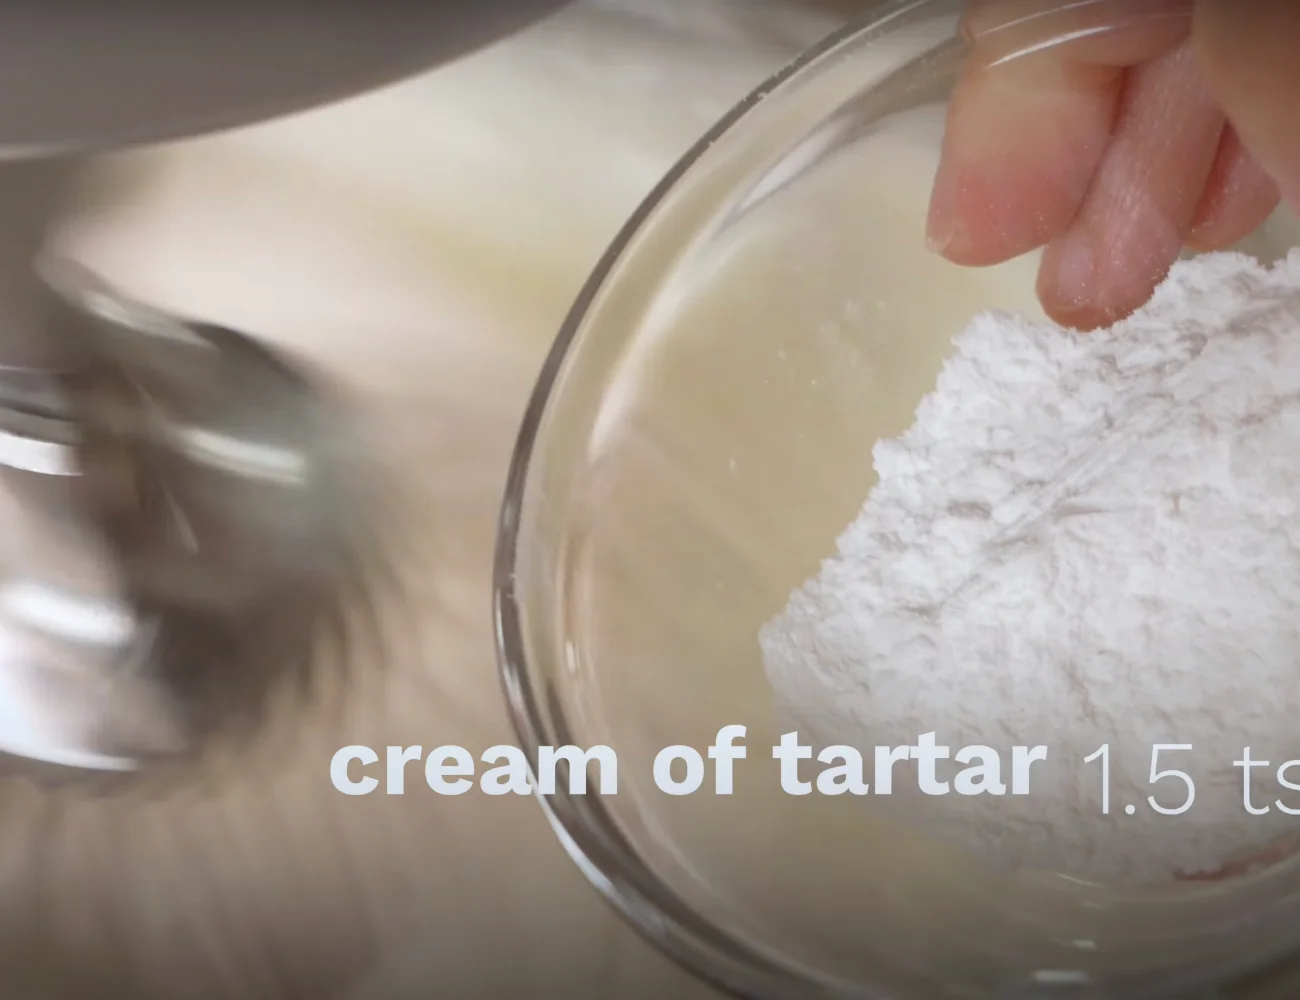
After adding the hot water, the egg whites will begin to foam. Add the cream of tartar and lemon juice at this point.
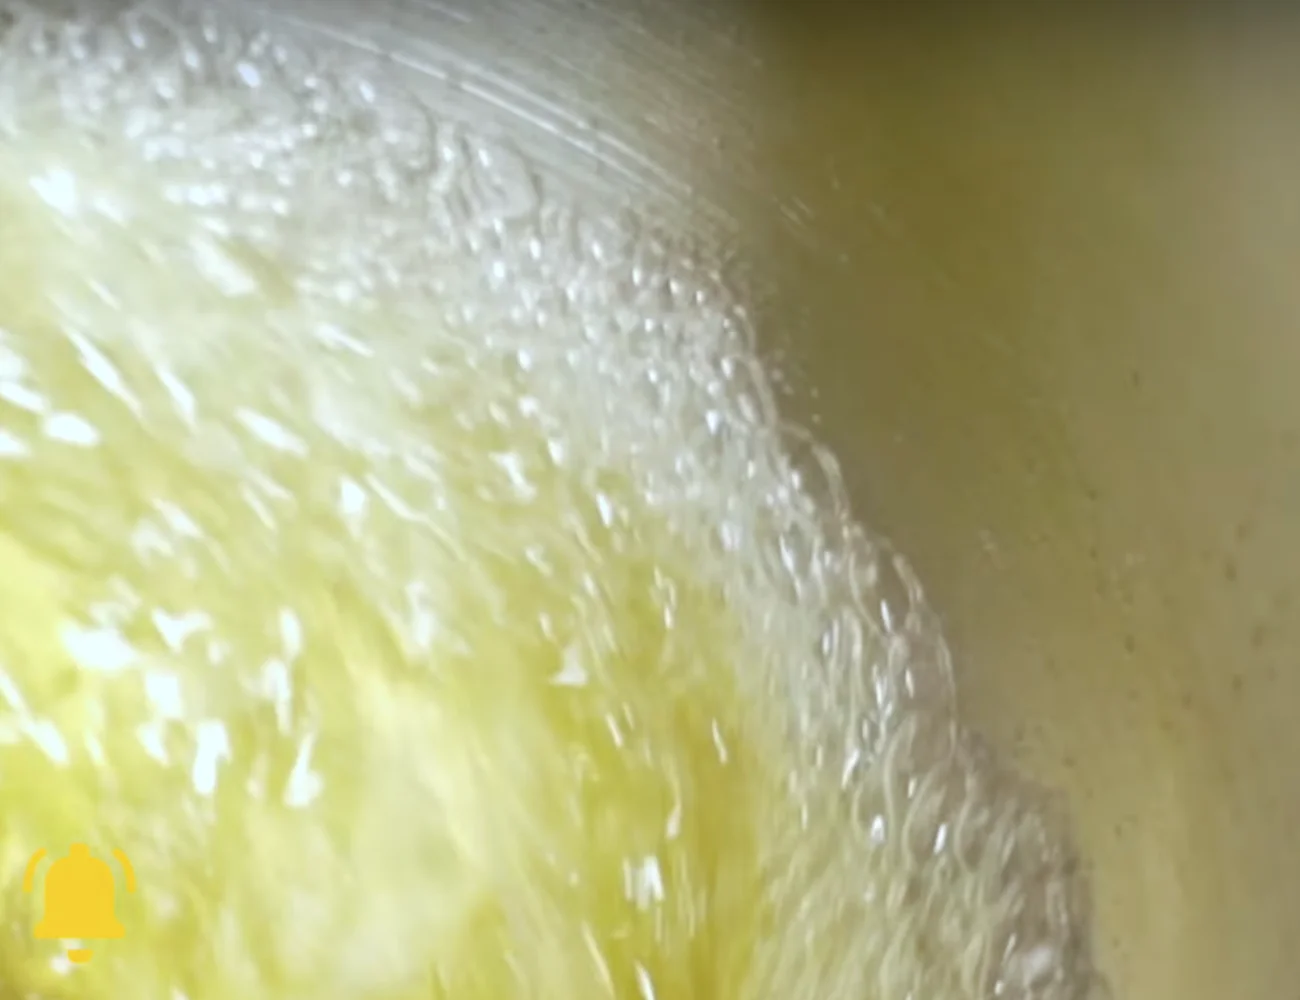
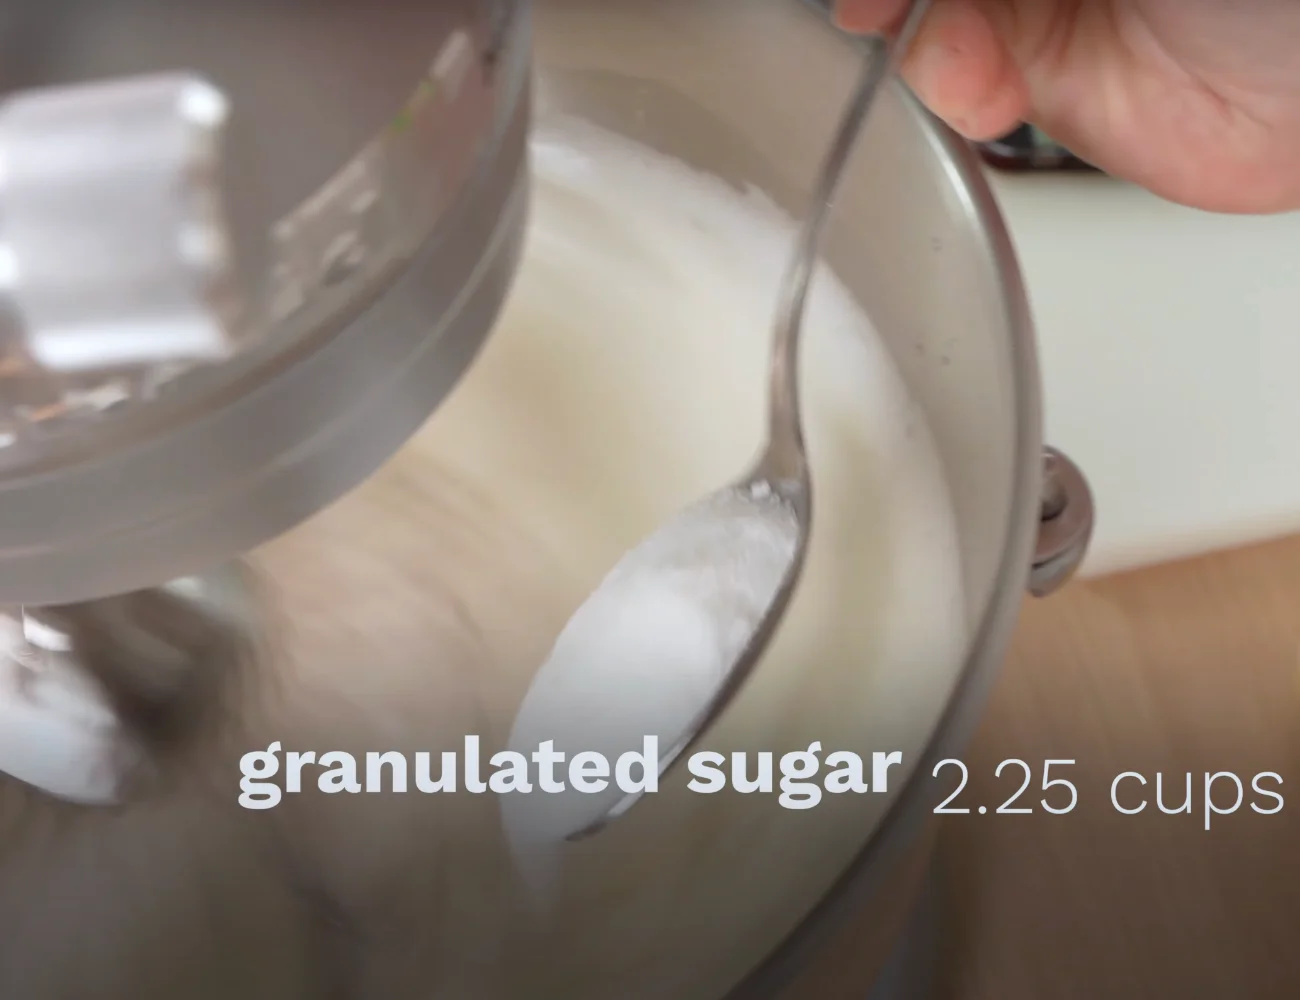
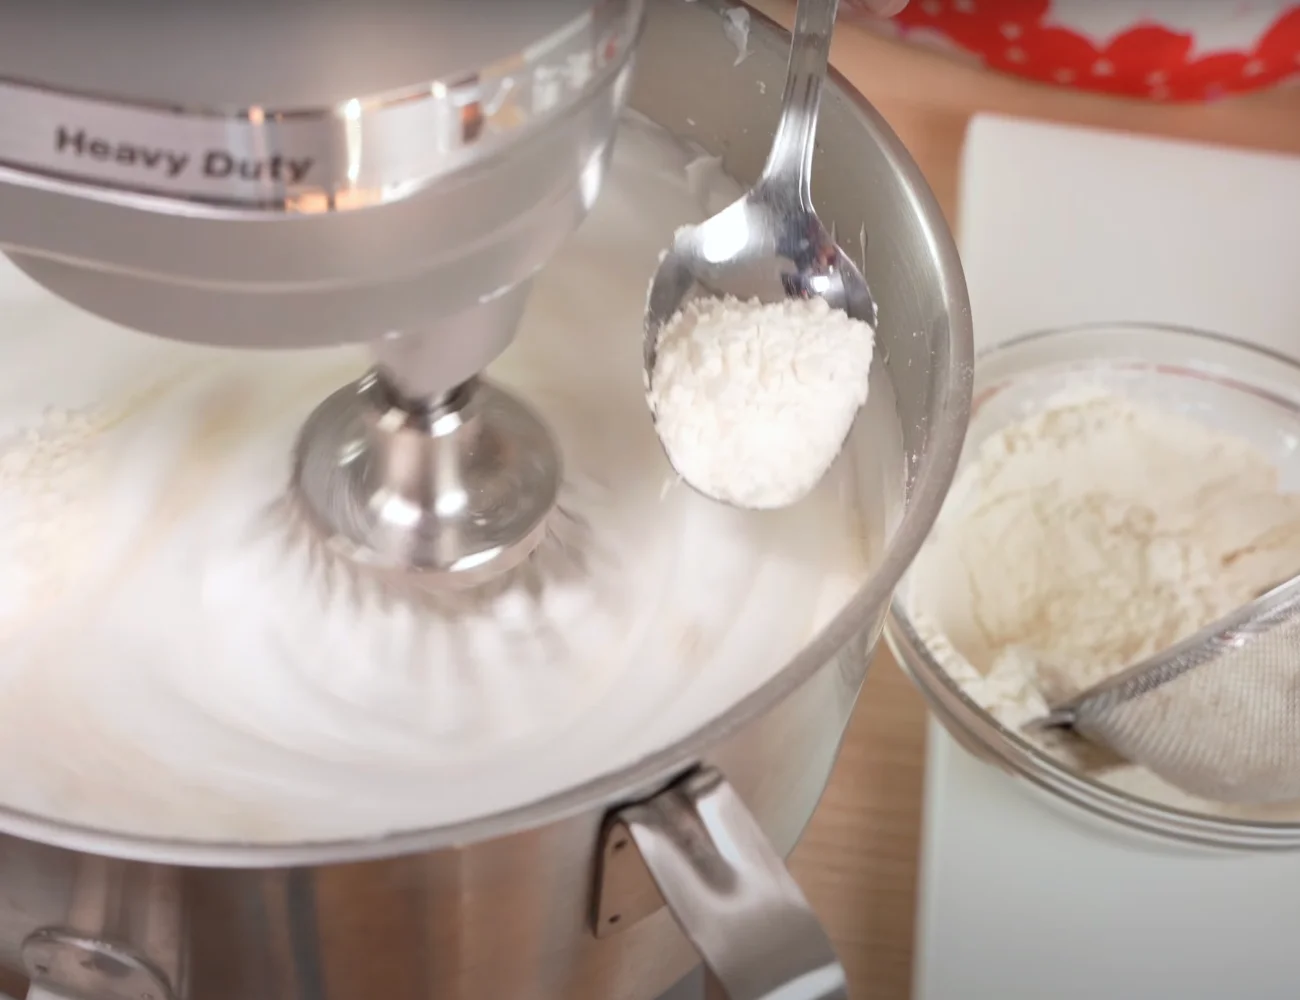
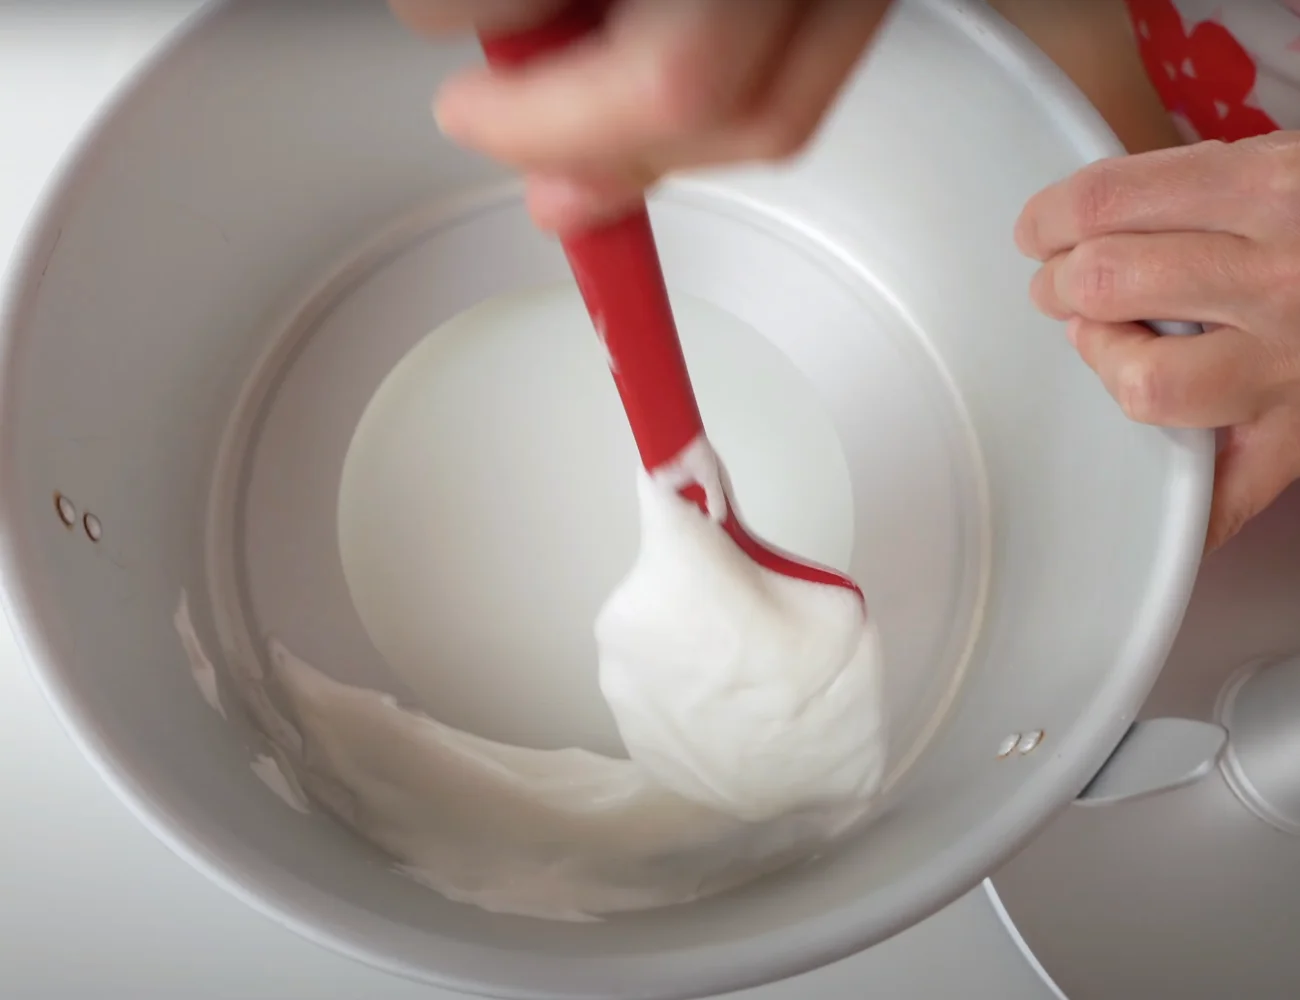
Whip for about 2 minutes and the whites will become white and very soft. Time to add the fine granulated sugar —a spoon at a time! Adding sugar to the whipping whites a little at a time helps build a stable structure. Do NOT use powdered or coarse cane sugar—they will not result in the same sturdy structure for the whipped egg whites. This recipe requires fine granulated sugar.
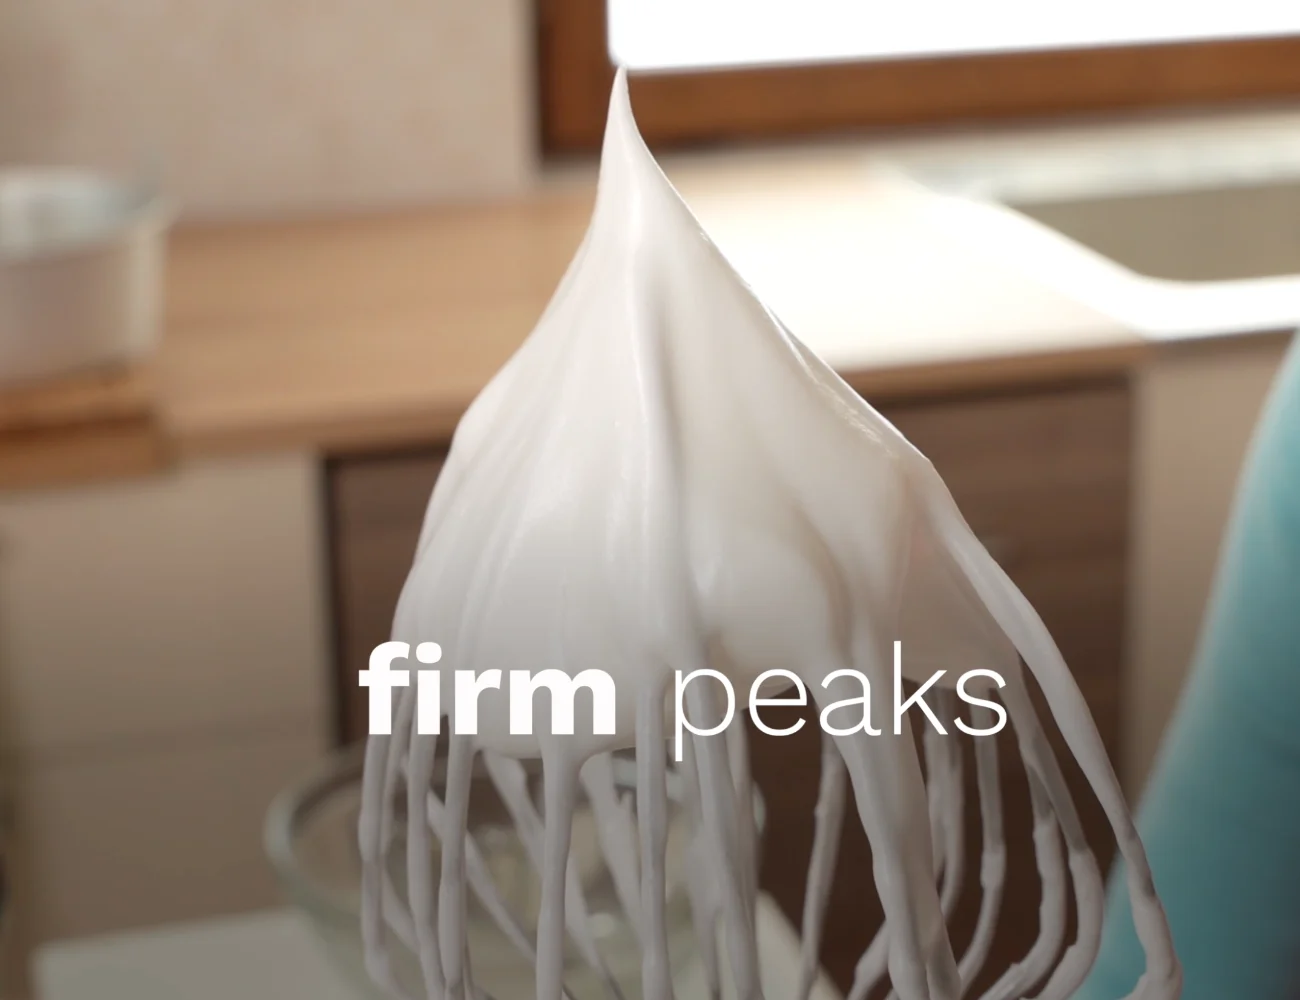
Whip the egg whites at medium speed until they form firm peaks — about 8 minutes. To check the ‘peak’ status, dip a clean whisk or spatula slightly into the whipped eggs and pull up. If the whites make a peak with a slightly curved top at the top, you’ve achieved firm peaks.
We don’t need completely ‘stiff’ peaks for this recipe— a peak that stands up straight without any curve to the tip. Firm peaks mean our eggs are full of air but still soft enough to easily mix in the flour.
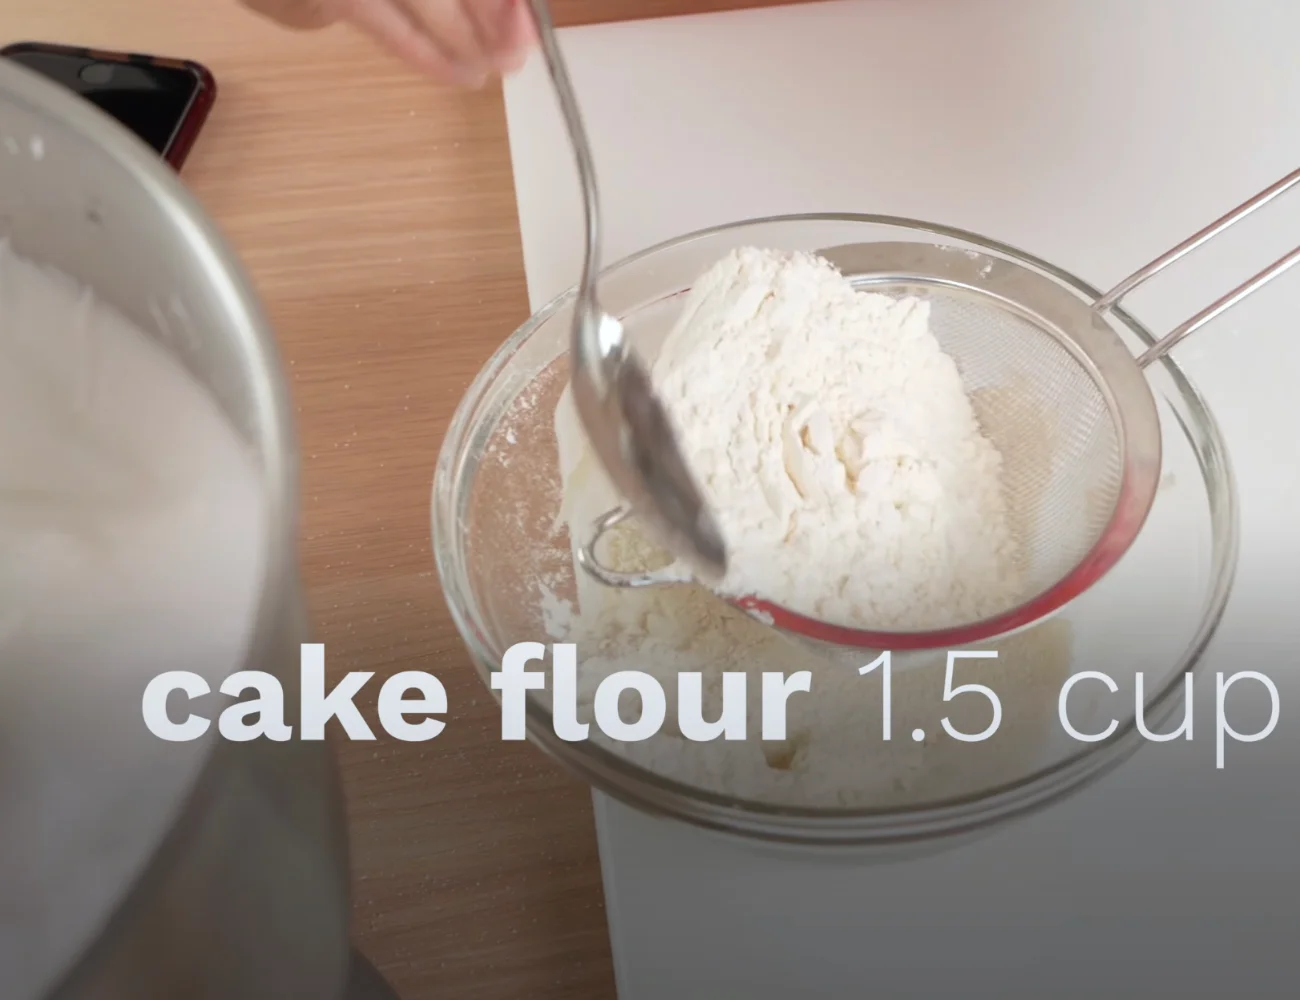
Drop the Speed, Add the Flour— Slowly
Once your eggs have reached ‘firm peak’ stage, it’s time to add the flour—with the stand mixer!
This is the part that stops many from making Angel Food Cake. Most recipes call for folding in the sifted flour—by hand. We also used to fold flour in by hand, until we decided to put this assumption to the test. The assumption is that using an electric or stand mixer to add the flour will knock the air out of the whipped eggs, causing a low-rising cake more prone to deflate.
But is this assumption true? We found out it is not! Here’s how we do it:
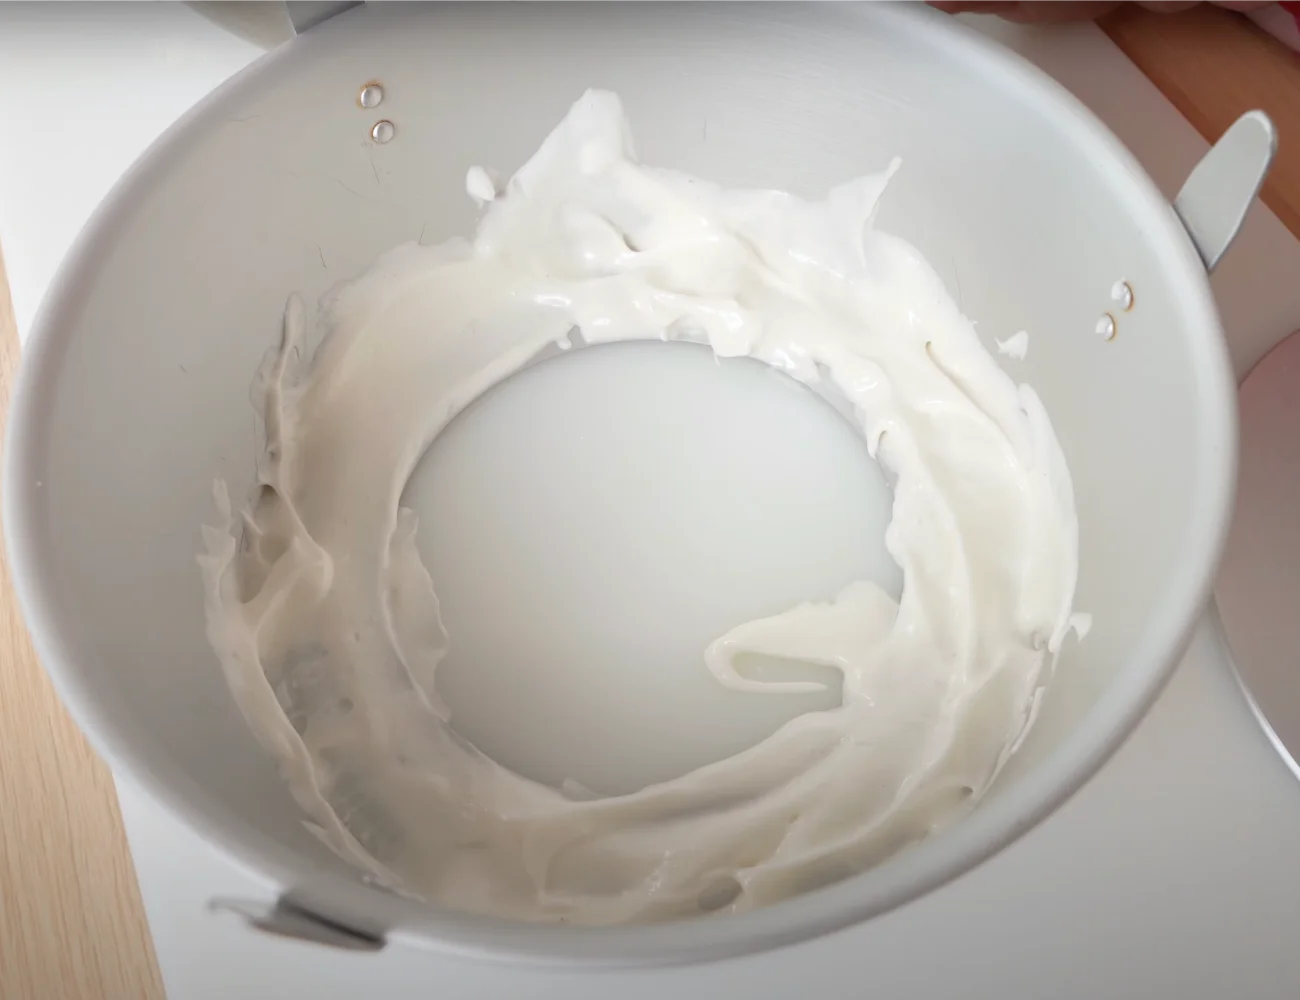
Lower the speed of the mixer to the lowest or second to lowest setting (on our stand mixer it was a ‘2’). Then, add one tablespoon of sifted flour at a time to the whipped eggs. When you don’t see any more dry flour, add another tablespoon… and another—until all of the flour is incorporated.
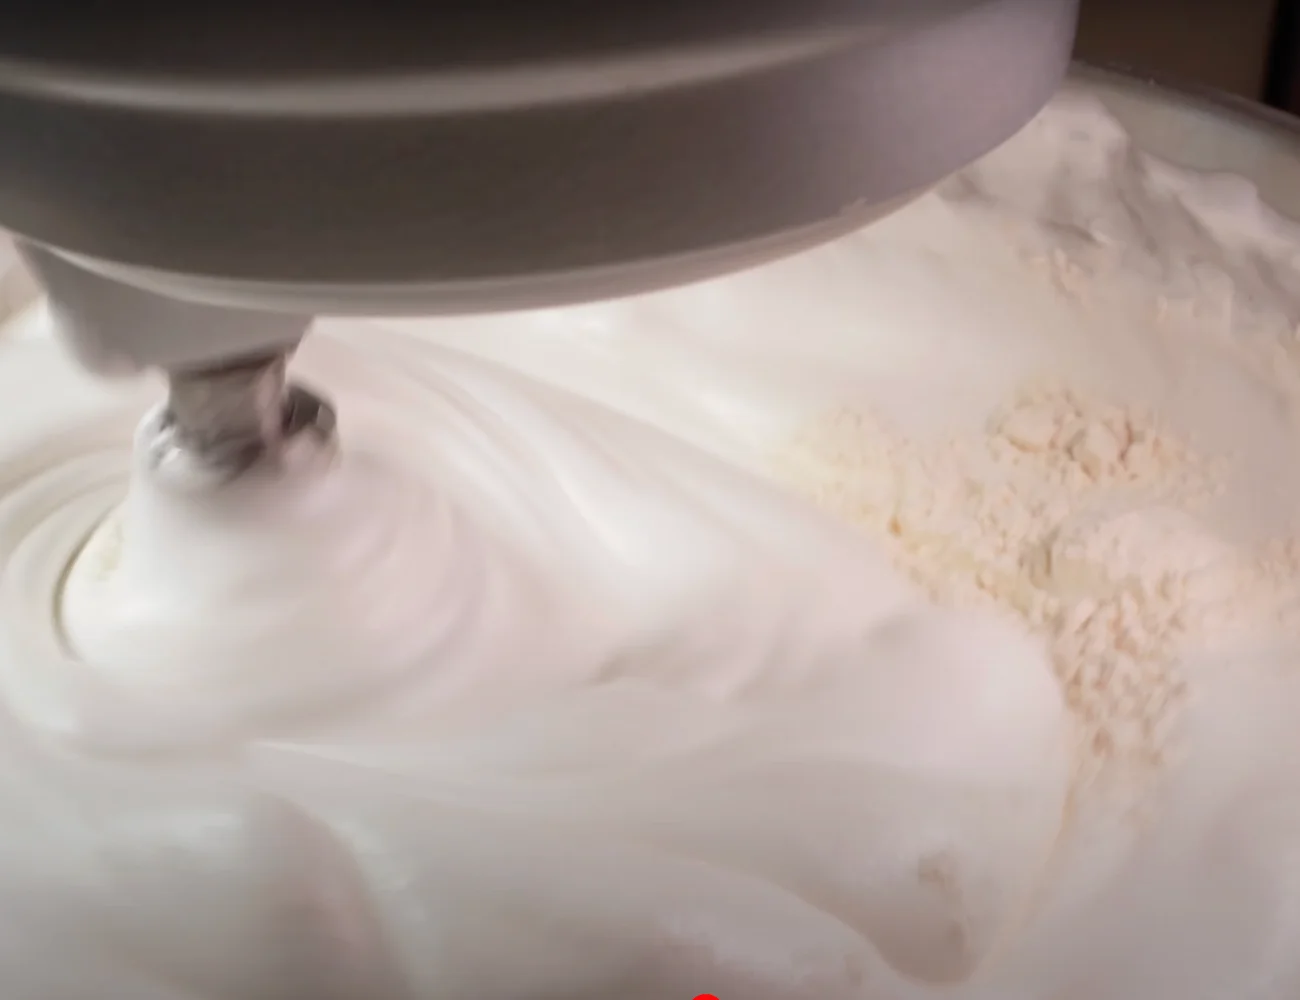
If the whipped eggs begin to sink under the weight of the flour you’ve just added, you are adding too much at one time.
The results? Not only was our flour well-incorporated and our eggs still full of air, but the flour was better incorporated and our eggs had more air after the flour was added.
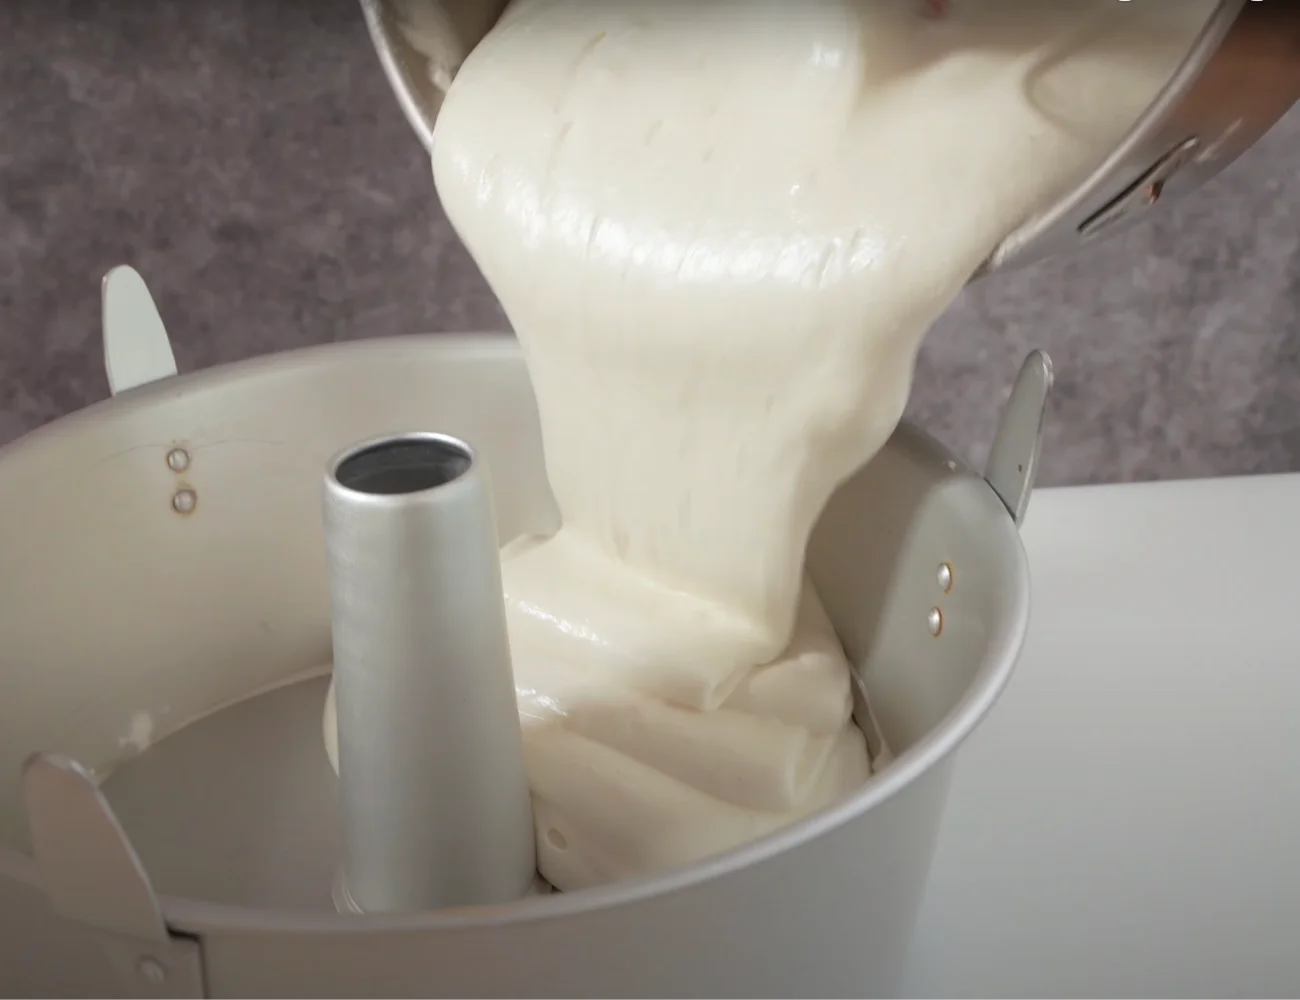
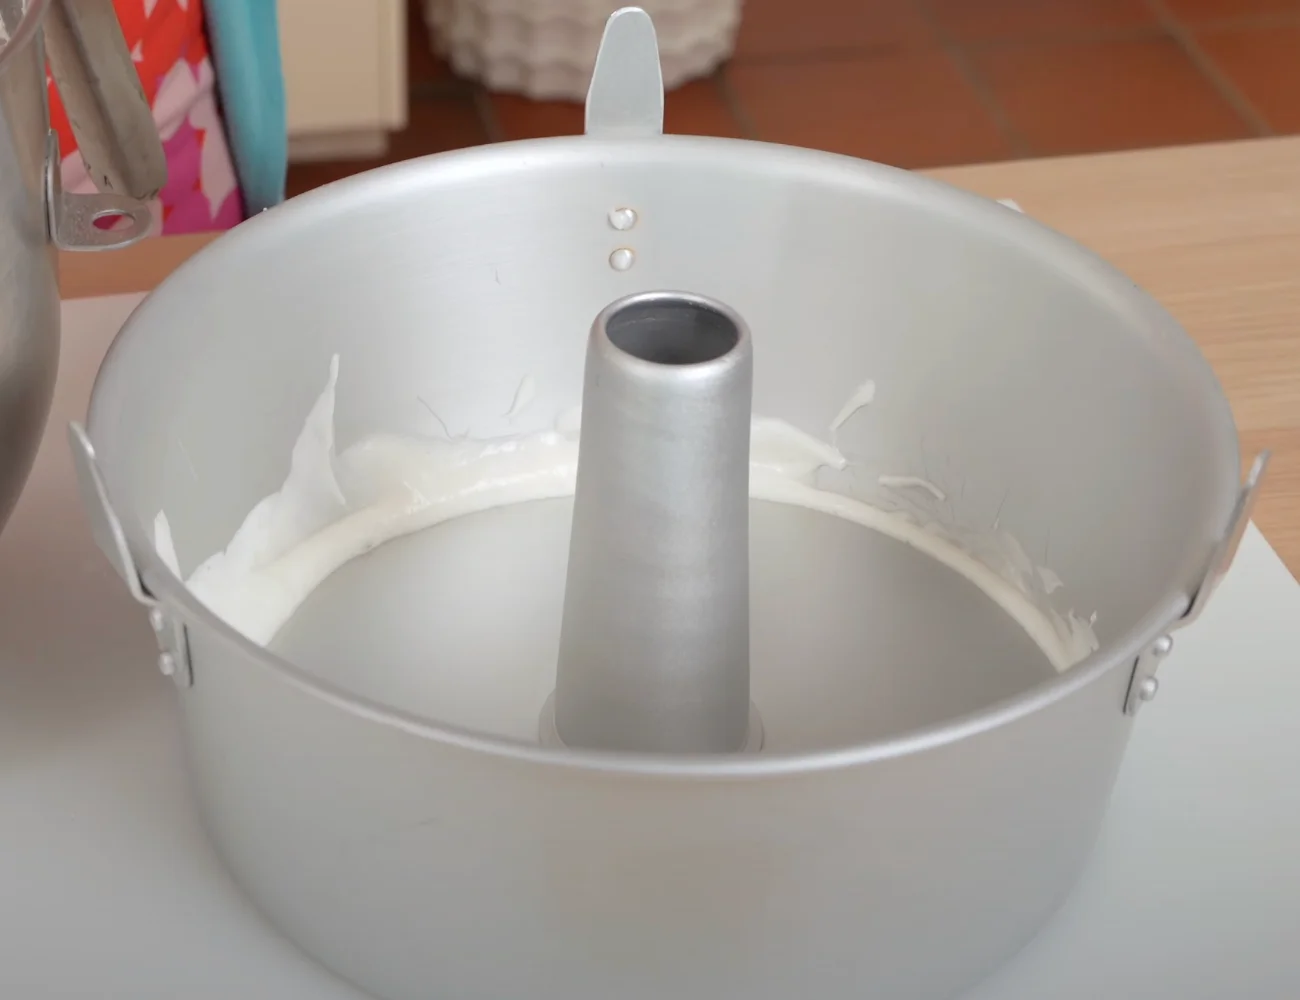
Spread the batter evenly to an ungreased pan that has a hole in the center and is for Angel Food Cake recipes.
After it is baked, the Angel Food Cake needs to be immediately turned upside down and left that way until it is thoroughly cool. This will take at least an hour, so don’t get impatient and try to remove it prematurely!
Even our first Angel Food Cake made with this experiment rose to great heights (more than our hand-folded cakes ever did) and the consistency was truly the stuff of legend.
Angel Food Cake Baking Tips
Angel Food Cakes must must be turned upside down immediately after they finish baking. They must cool completely while they are upside down.
This is because whipped eggs are providing the entire structure for the cake. And eggs full of air are sensitive to temperature changes (think how the soufflé is notorious for deflating).
If you do not immediately turn the cake pan over to cool upside down, your Angel Food Cake will collapse. This is why can pans specifically made for Angel Food cakes have both a hole in the center and feet. Here’s an [affiliate link] to an Angel Food cake pan we use and have had great success with.
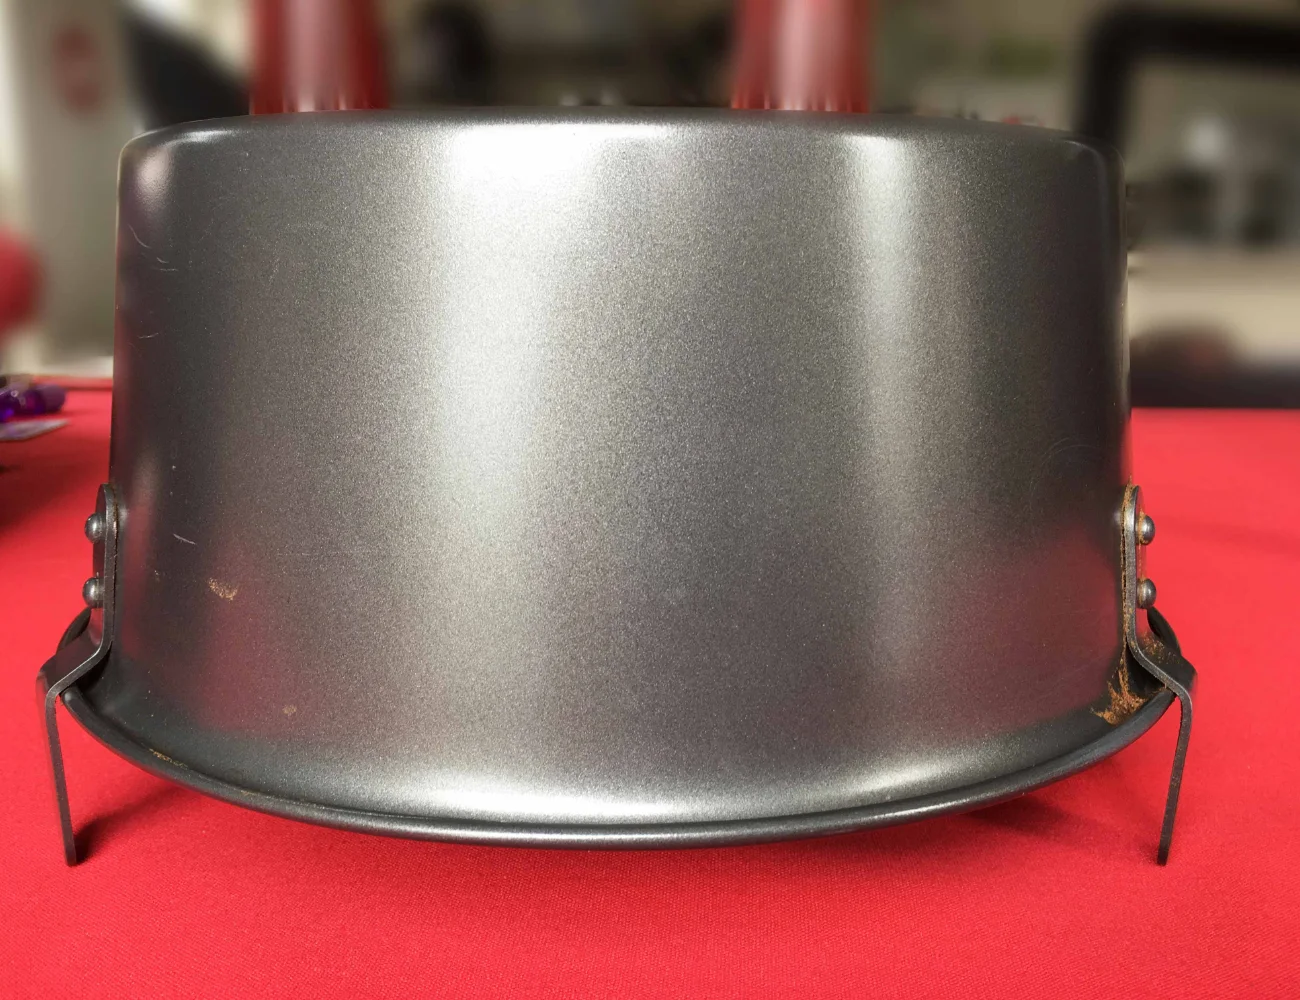
If the pan you have purchased or are using to make the Angel Food Cake has no feet or the cake is falling out when you flip it over, please read the next sections to learn how to hack those pans for success!
Only Pans with a Hole Need Apply
You don’t need an Angel Food Cake pan per say to bake an Angel Food Cake. You do however need a pan that is….
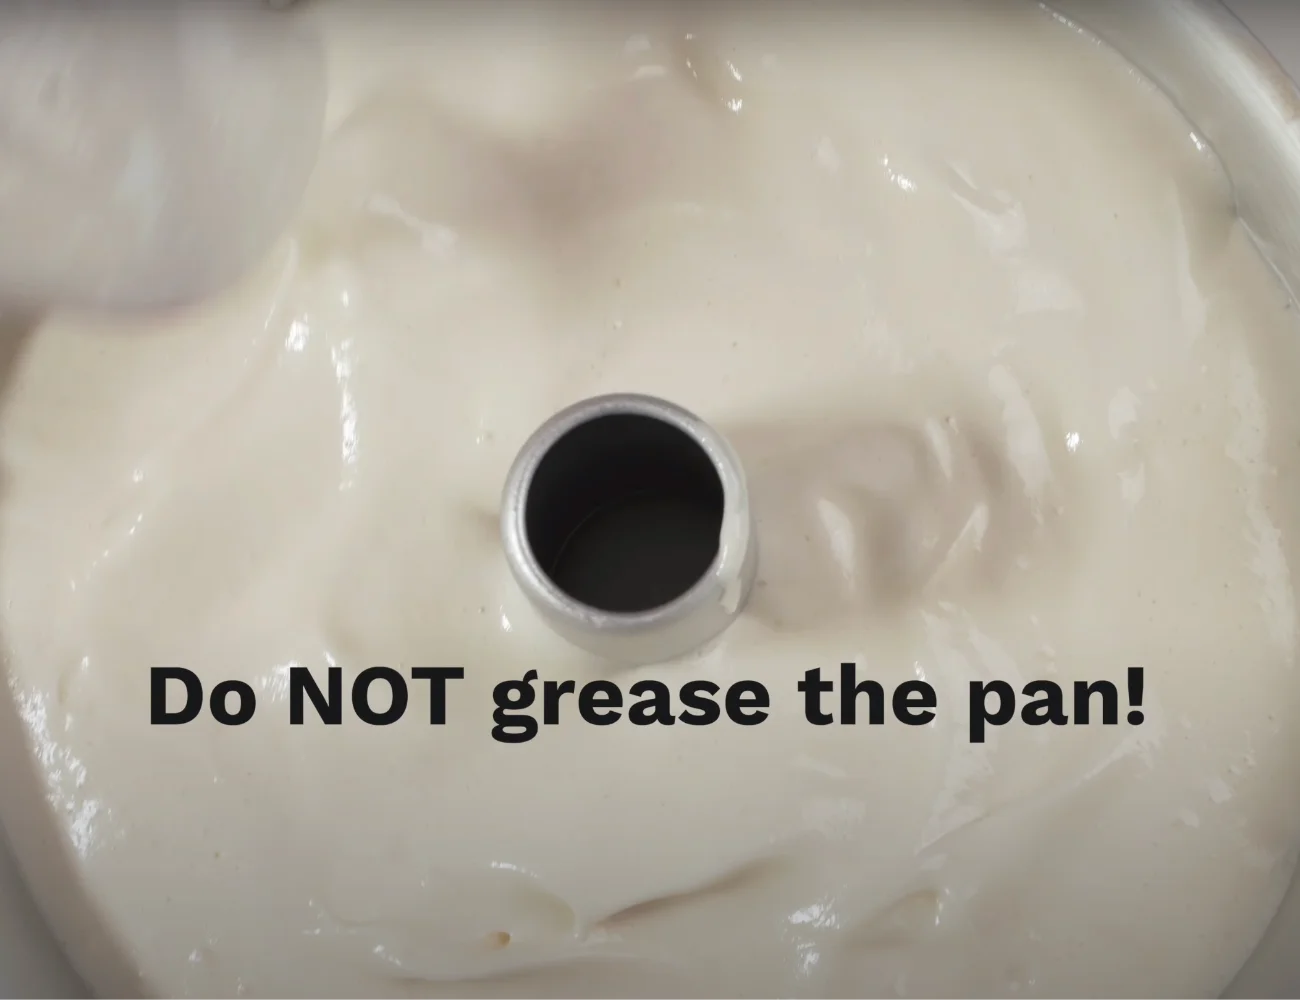
- ungreased
- with a hole in the center
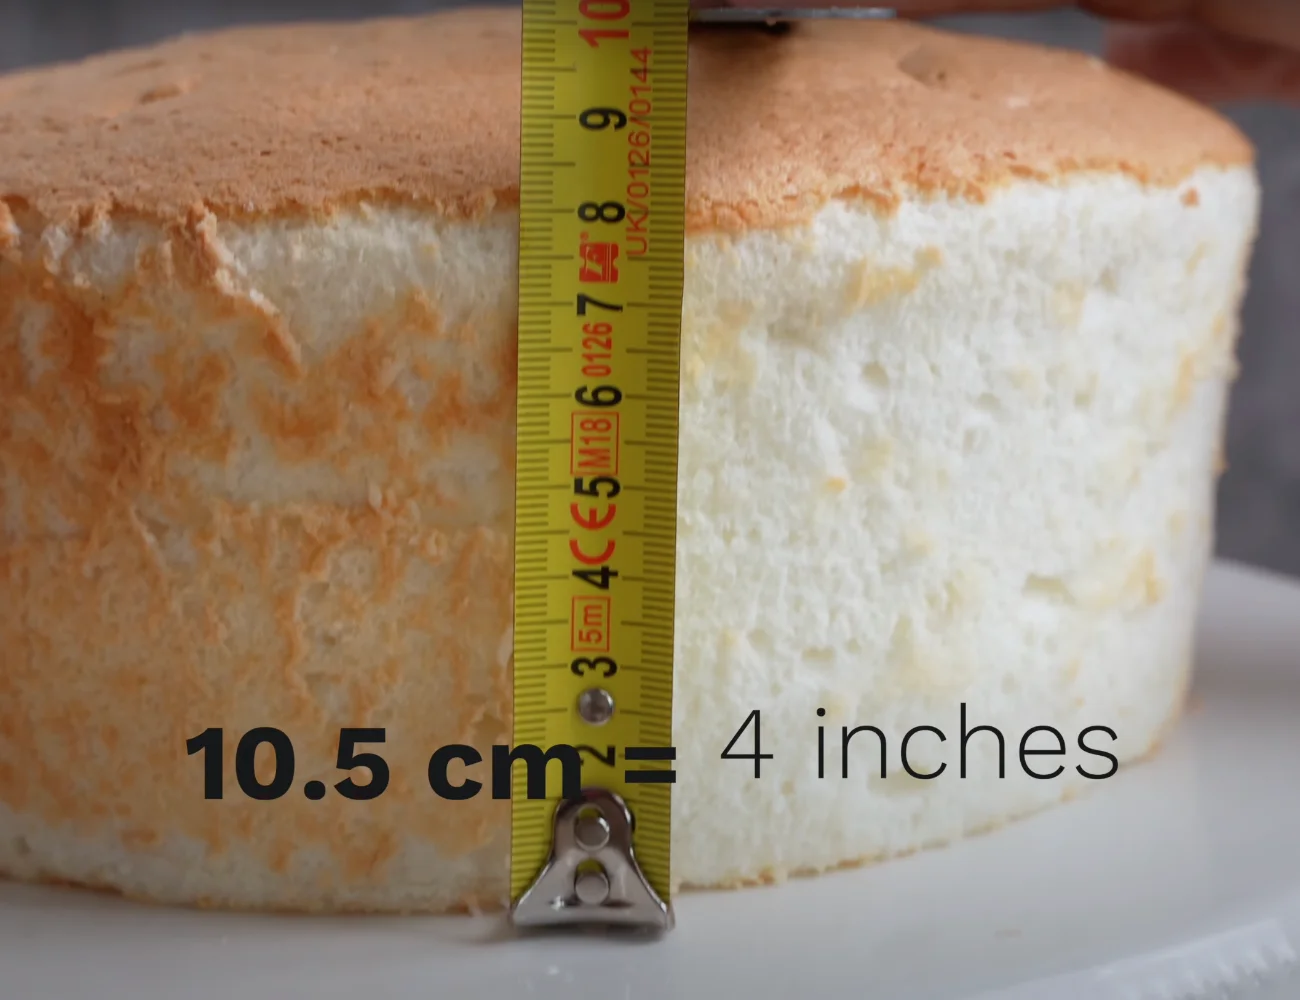
- tall (4″- 5″ or around 10 cm)
Use Ungreased Pan
Always add sponge cake batter (like Angel Food Cake batter) to an ungreased pan. Angel Food Cakes (like other sponge cakes) need to grab onto the sides of the pan as they bake in order to rise. So, greased pans aren’t a good choice.
Parchment Paper? No!
The Angel Food Cake needs to stay in the pan after you turn it upside down. Don’t add any parchment paper to the pan. Once cool, you can simply use a straight-edge spatula or knife to loosen the edges of the cake.
Don’t Open Oven During the Bake
All of the rise for this sponge cake comes from the whipped eggs. Eggs are sensitive to temperature changes. So, do not open the oven while the cake is baking (just as you would avoid doing that when making a soufflé).
The baked cake will have a golden brown top.
Cool Cake Upside Down
When the Angel Food Cake is baked, remove it from the oven and immediately turn the cake (in the pan) upside down.
Leave the cake upside down until cold— at least an hour.
Troubleshooting Cake Pan Issues
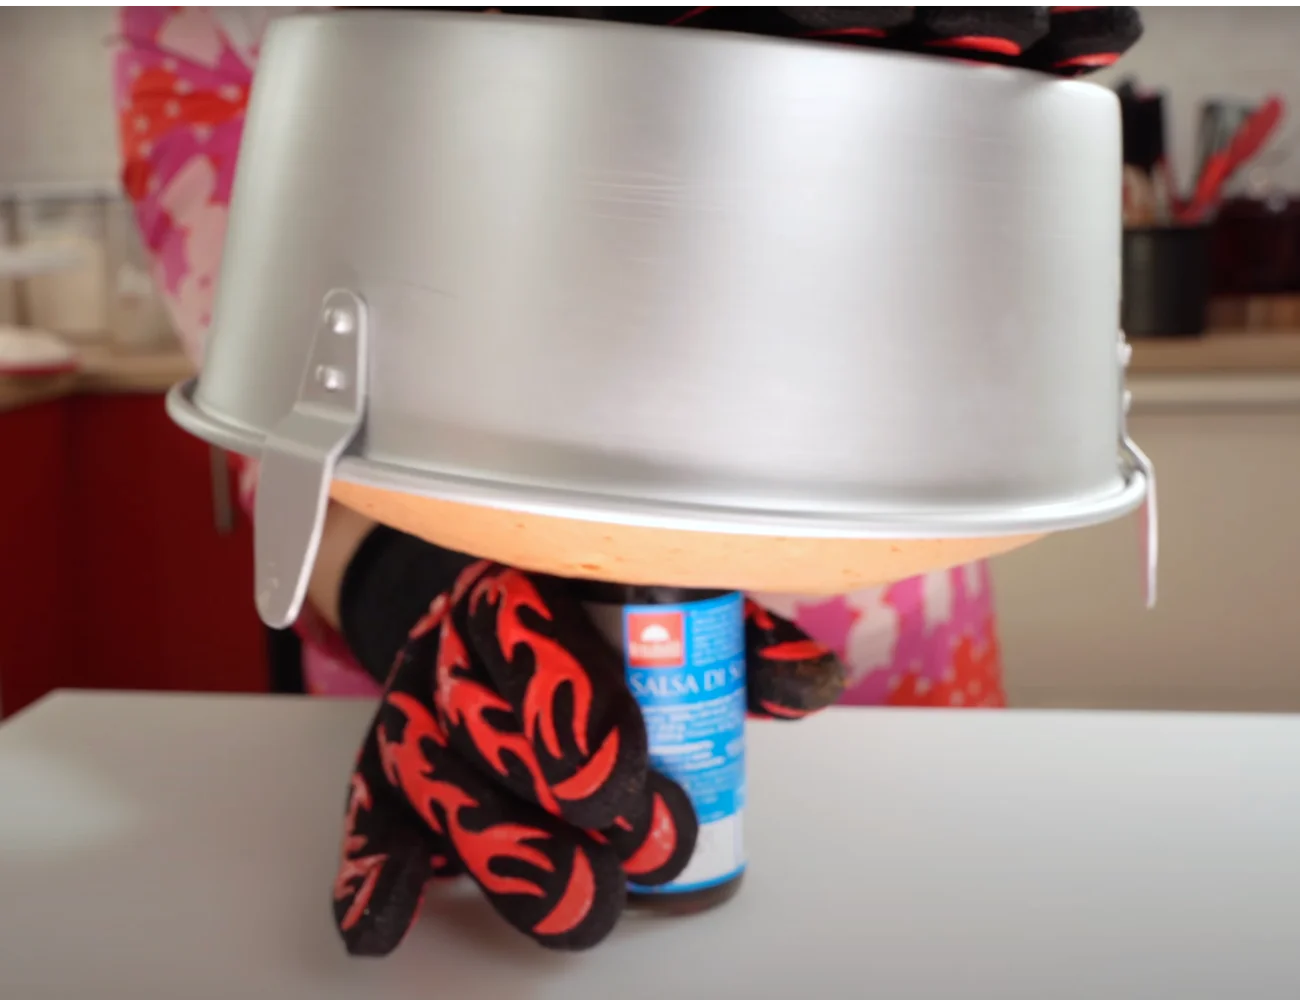
No feet on your cake pan? Try this!
If your cake pan has a hole in the middle but no feet, use a bottle with a head just smaller than the pan’s hole to hold the cake upside down. This will keep the cake upside down and give plenty of air under the cake to help it cool.
Does the bottom fall out of your cake pan?
The ideal Angel Food Cake pan has pretty straight sides, like this Angel Food Cake Pan (affiliate link) which we use in the United States to cook our Angel Food Cakes:
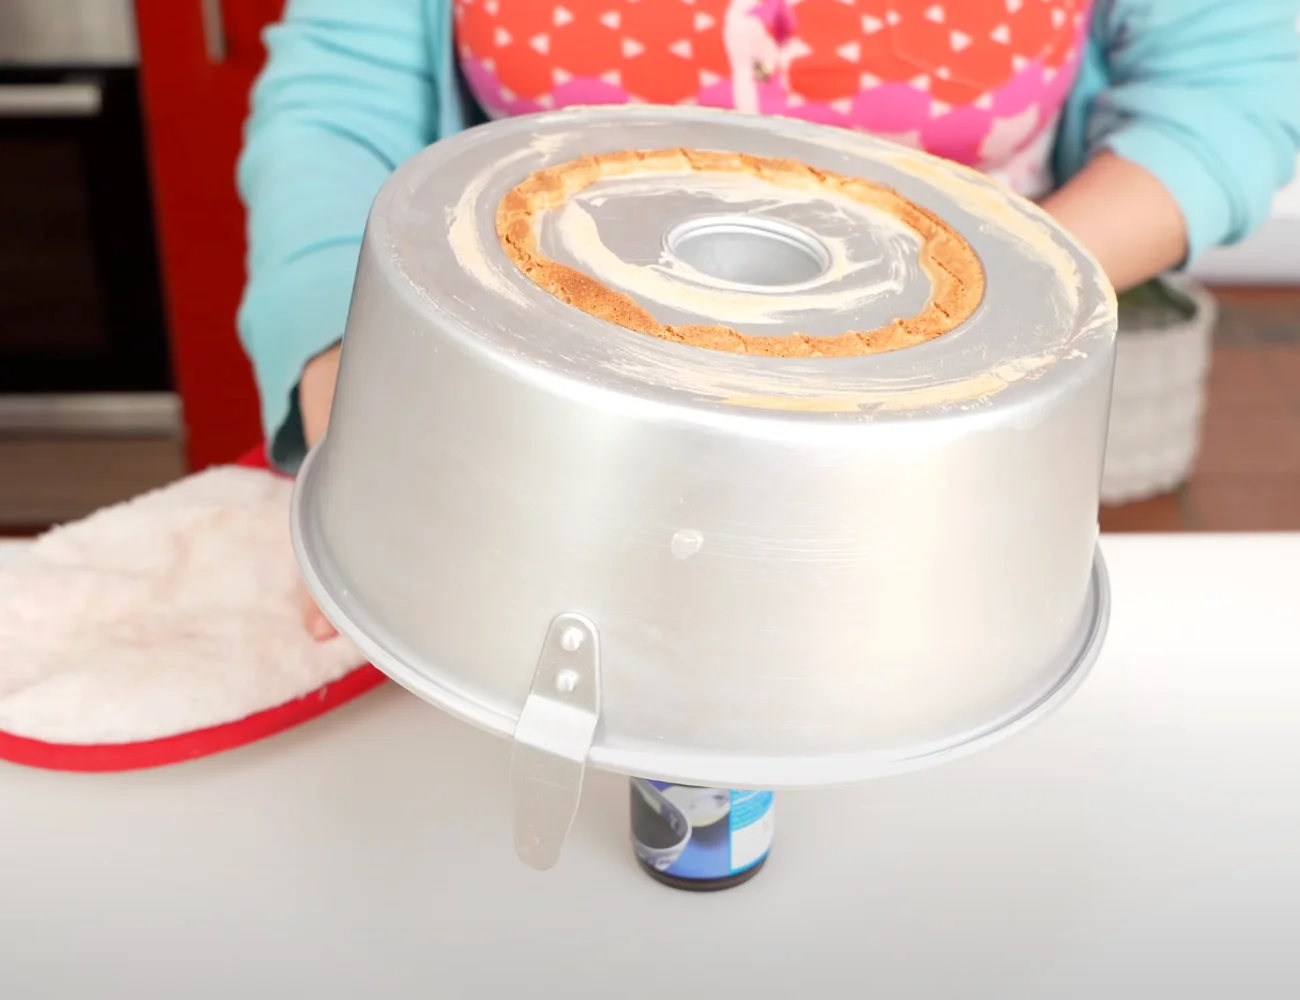
However, sometimes cake pans with removable bottoms are sold as ‘angel food cake’ pans (with a hole in the center and feet) but the bottom of the pan is much smaller than the top. Big no no!
This can cause the removable bottom of the cake pan to jar loose when you turn it upside down. Your cake will crash to the ground and deflate. Disaster!
We found this out the hard way when we wanted to bake an Angel Food Cake in Italy and bought the only cake pan we found marketed as such. The pan that arrived had a larger mouth than bottom (the sides were not close to straight) and the removable bottom did not fit tightly in the bottom of the pan.
Luckily, we found a hack and have used this poorly designed cake pan with great success for many Angel Food Cakes.
If your pan has this issue, try using some of the cake batter as ‘glue’ underneath the removable bottom of the pan and the inside of the bottom of the cake pan. As the cake bakes, this ‘glue’ will set and the removable bottom should stay in long enough for your cake to completely cool.
You can also use the bottle trick in the hole to secure the removable bottom into pan upside down as it cools.
Alternatively, purchase a reliable pan to begin with :/ Again, here’s an [affiliate link] to an Angel Food cake pan we use and have had great success with. Happy baking!
To summarize, here are the secrets to making a delicious Angel Food Cake:
Eggs + Hot Water = Perfect Temperature!
Add a bit of hot water to the eggs from the refrigerator to produce eggs warm enough for the perfect whip!
Whip Long Enough
Whip until the eggs reach ‘firm peak’ stage. When you dip a clean whisk in and pull up, the whipped eggs should form a peak that droops a tiny bit at the tip.
Add Flour a Little at a Time
Add the flour into the whipped eggs a tablespoon at a time. Always let that flour incorporate before adding more.
Cool Upside Down
There’s no getting around this. Your Angel Food Cake must be cooled upside down or it will completely deflate.
As an Amazon Associate, we earn from qualifying purchases. This means at no extra cost to you, PIATTO may earn a small commission if you click the links and make a qualifying purchase.
More Amazing Dessert Recipes!
Easy Angel Food Cake Recipe – No Folding!
Equipment
- Stand Mixer (or electric hand mixer)
- Angel Food Cake Pan (or similar)
Ingredients
- 2 cups egg whites
- 1 ¾ cup granulated sugar
- ⅓ cup hot water
- salt pinch
- 1 ½ tsp cream of tartar
- 1 tsp lemon juice
- 1 ½ tsp vanilla extract
- 1 ¼ cup cake flour or all-purpose
Instructions
PREPARE THE INGREDIENTS
- Sift the flour. Set it aside.1 ¼ cup cake flour
- Separate eggs until you have enough egg whites for the recipe. Always separate eggs cold for a clean separation between the yolks and the whites.2 cups egg whites
MAKE THE CAKE
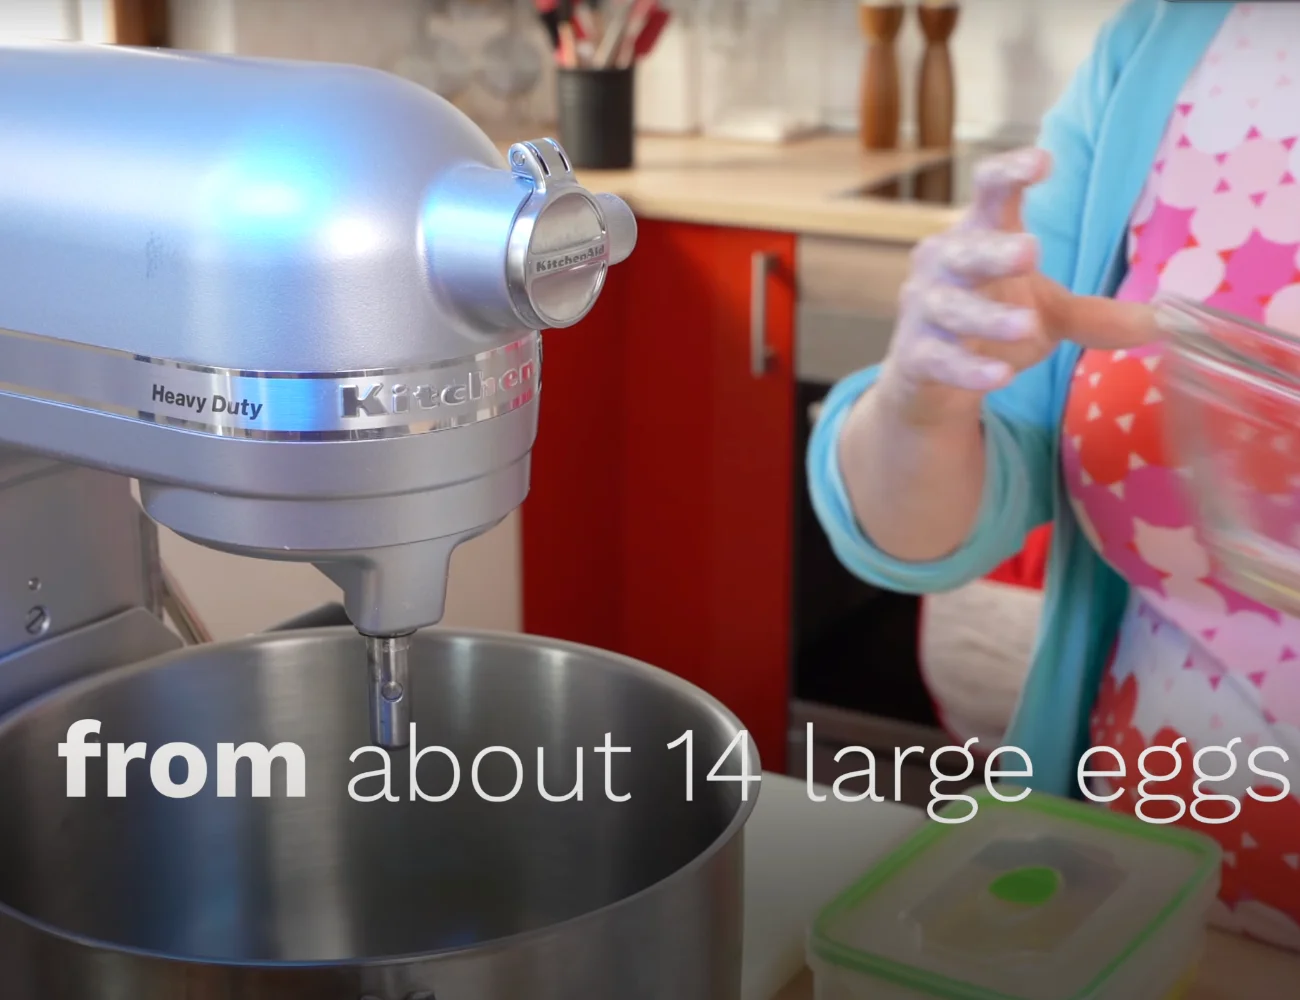
- Add egg whites to a very large clean bowl. If using a stand mixer, fit the stand mixer with the whisk attachment.
- Whisk the eggs on medium speed. Immediately add the hot water to the whipping eggs. Whip for about 2 minutes.⅓ cup hot water
- When the eggs are white and soft, add a pinch of salt, the lemon juice, the vanilla and the cream of tartar.salt, 1 ½ tsp cream of tartar, 1 tsp lemon juice, 1 ½ tsp vanilla extract
- Add all of the sugar, one spoon at a time, as you continue whipping the egg whites on medium speed. Whip for about 8 minutes or until…1 ¾ cup granulated sugar
- Whip until the egg whites reach 'firm peak' stage— if you insert a clean whisk and pull up, a firm peak will form with a tiny droop at the tip.
- Drop the speed of the mixer to low (a '2' on most stand mixers). Add all of the sifted flour to the whipped eggs one tablespoon at a time. When that flour has been incorporated, add the next. Continue until all of the flour has been added.
- Use a spatula to mix the cake batter with a bottom to top motion a few times, pulling in any loose flour clinging to the sides of the bowl. Don't over-mix. Just be sure all of the flour seems incorporated.
BAKE THE CAKE
- Spread the cake batter evenly in an ungreased pan suited for Angel Food Cakes.
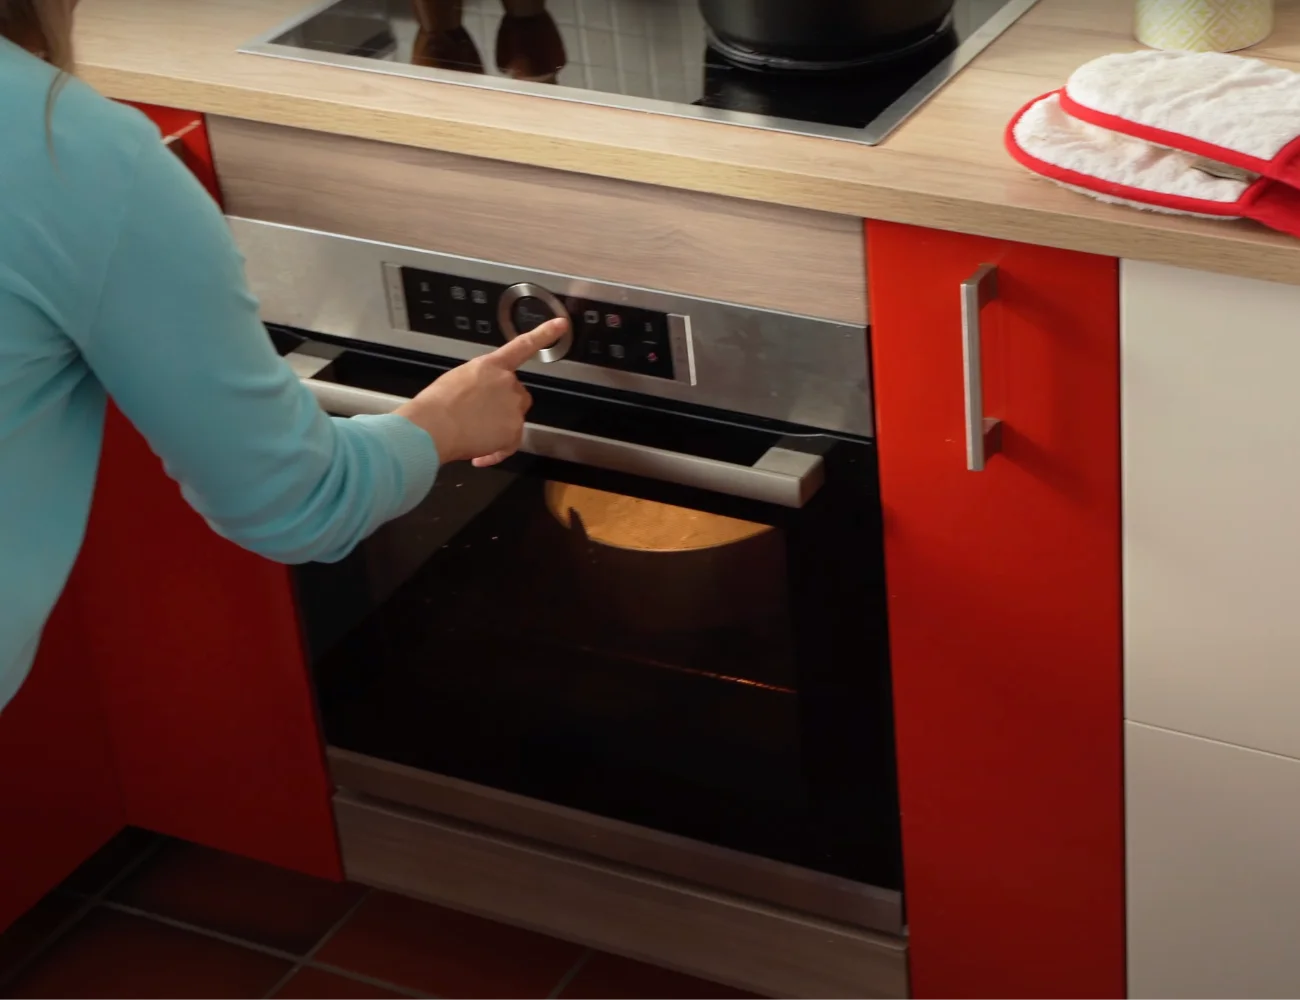
- Bake at 350° F (180° C) for 40 minutes. The top will be a medium golden brown color.
COOL THE CAKE
- Remove the angel food cake from the oven and immediately flip it upside down to cool. If your cake pan has no feet to allow air flow under the cake, stick a bottle into the hole of the cake pan to prop the cake pan upside down.
- Cool completely before removing the cake from the pan—at least an hour. When cool, loosen the edges with a frosting spatula or knife.
- Decorate as you like… and Buon appetito!
Video
Nutrition
🇬🇧 This is the English-language version of our original Italian recipe on PIATTO Ricette.
thanks 🤩🤩🤩😋😋🥰🥰🥰
Original comment: View on YouTube
Super
Original comment: View on YouTube
😘😋👏
Original comment: View on YouTube