Explore the art of olive oil choux pastry! This light and flavorful twist on the classic French choux pastry is a triumph of taste and versatility, perfect for any occasion.
First off, let me assure you, choux pastry isn’t just for Michelin-star chefs. It’s an art accessible to all of us, requiring only a bit of practice and patience. And the beauty of olive oil choux pastry is that it can morph into an endless variety of sweet and savory delights, from classic profiteroles to chocolate eclairs and cream puffs.
The secret ingredient in this recipe? Olive oil. This ‘liquid gold’ not only imparts a unique and irresistible aroma to the pastry, it also makes it lighter and crispier. Olive oil brings a touch of the Mediterranean to choux pastry, celebrating our beloved Italian culinary tradition.
We love to experiment with choux pastry, filling it with different creams or toppings. But the beauty of this dough is that you can customize it to your tastes. Chocolate, vanilla, pistachio, or even a savory filling… the possibilities are endless!
Why Make Choux Pastry with a Stand Mixer?
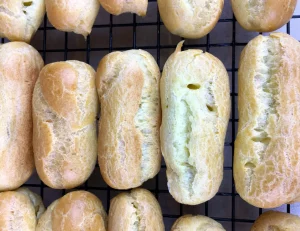
In many countries, groceries sell (unfilled) eclairs and profiterole shells made with choux pastry. However, they are usually expensive and lacking the freshness of the homemade product.
With a stand mixer, you can make big batches of choux pastry and bake them as either eclairs or profiteroles (puffs) for a fraction of the cost of buying them. Also? While choux pastry dough isn’t terribly stiff, it is nonetheless a laborious task to whip in the eggs to create that lovely glossy dough that signals your work is done.
Keep reading to learn how to store (or even freeze) your choux pastry products and enjoy them for weeks (or months).
Best Stand Mixer for the Job?
Any stand mixer will do here, such as the entry-level KitchenAid Artisan stand mixer (affiliate link). You can use either the paddle or whisk attachment to finish the choux pastry. We prefer the whisk attachment here.
If you are using a hand mixer, you’ll want to use the stiffer beater attachment (not the one for whipped cream).
How to Make Choux Pastry with a Stand Mixer
Those new to stand mixers sometimes think of their new tool like a bread machine, expecting to just throw all of the ingredients in and have every task performed with the stand mixer. Instead, it’s better to think of your stand mixer as a sous chef that you can assign to perform certain time-consuming or labor-intensive tasks.
The first part of making choux pastry cannot be done with a stand mixer. Luckily, it’s easy! You just boil water and butter (or, in this case, olive oil), add all of the flour and mix it around with a wooden spoon until it dries out and forms a ball.
The next task is where your KitchenAid or other type of stand mixer takes over! Transfer the dough ball to the stand mixer bowl, let it cool a bit and then start the stand mixer on low speed with the whisk attachment. Add one whole egg at a time, increasing the speed to medium and let the stand mixer incorporate that egg!
When all of the eggs have been adding, let the stand mixer continue to whisk until that choux pastry is smooth and glossy!! That lovely shine is our favorite part of making choux pastry.

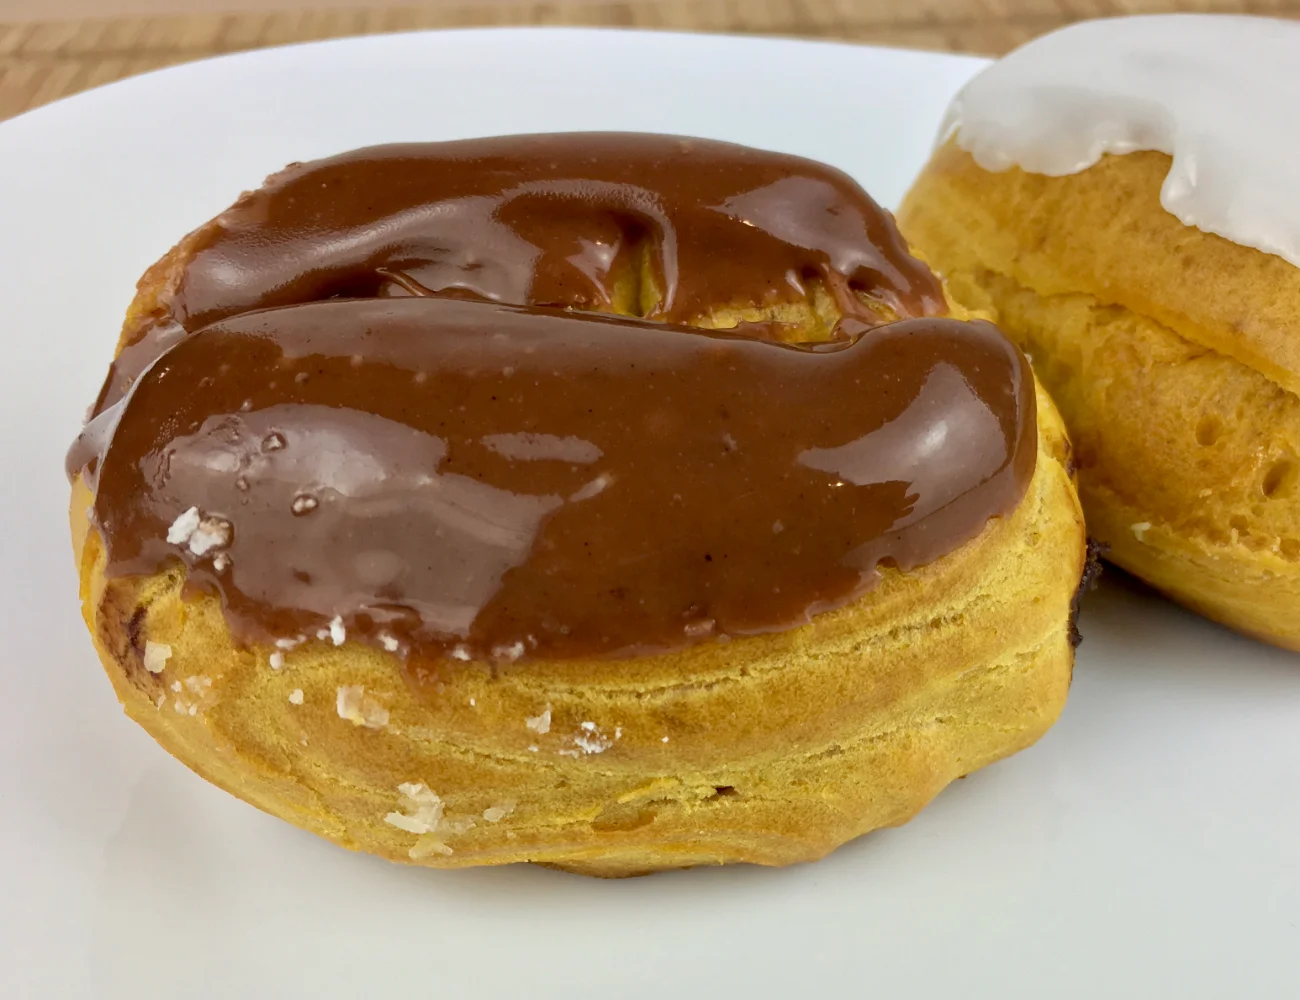
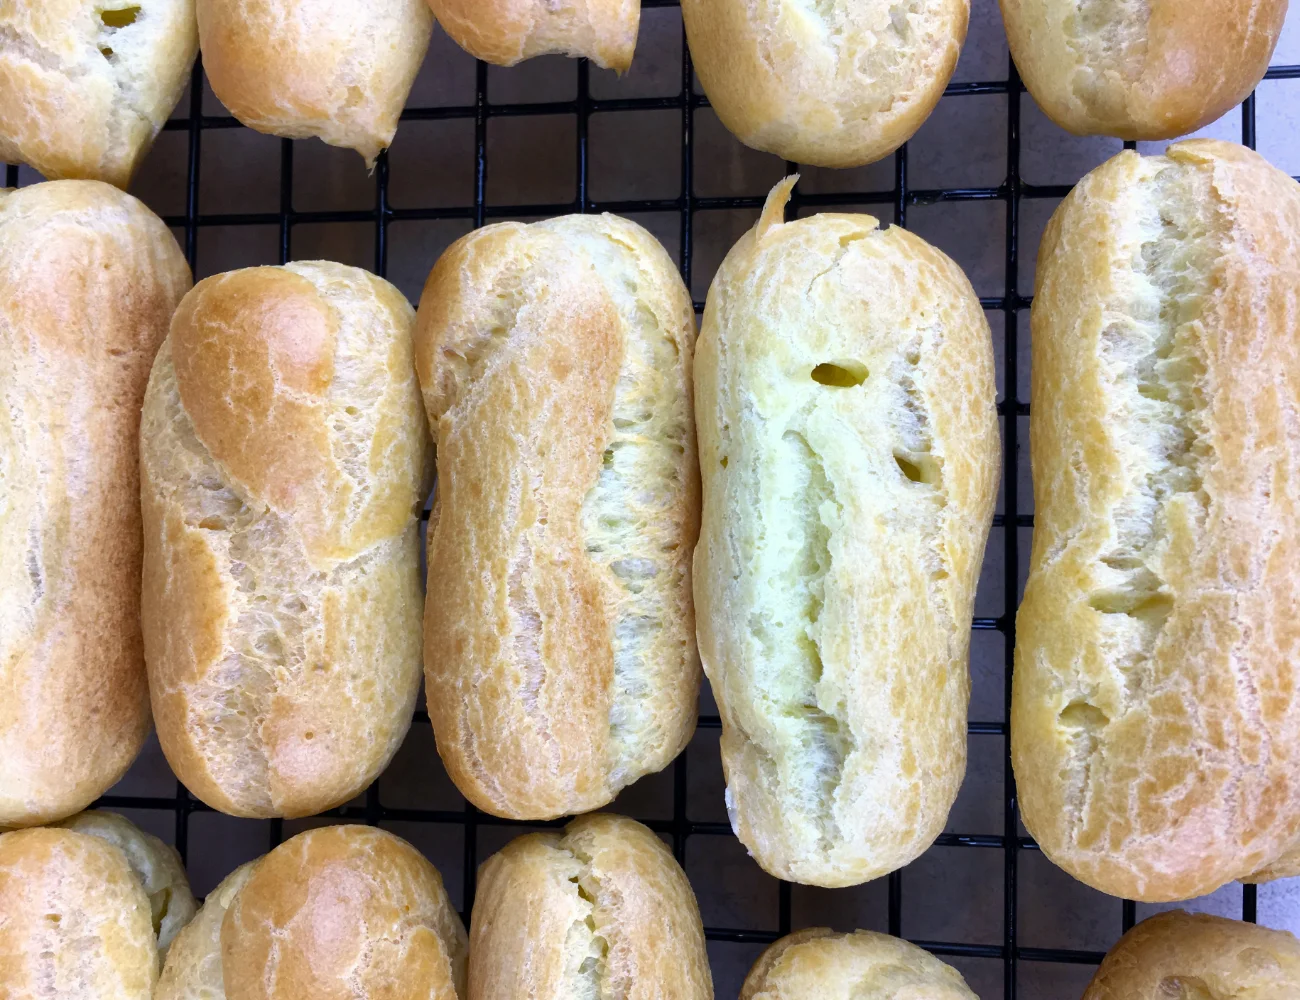
Once the choux pastry is ready, it’s time to pipe into whatever shape you prefer. We love to make mini eclairs. Use a wet finger to smooth down the edges of your piped eclairs!

Storing Eclairs or Profiteroles Made With Choux Pastry
In Italy, it’s easy to find prepared profiteroles in the groceries. But now you know our little secret: It’s so easy to make the eclairs and profiteroles at home!
- If you plan to consume your eclairs or profiteroles within 1-2 days, you can store them in an airtight container at room temperature if unfilled, or in the refrigerator if they have been filled or topped with cream or frosting.
- It’s best to store them in a single layer to avoid them sticking together or damaging their toppings. If you must stack them, use parchment paper between layers.
Freezing Choux Pastry Products
Can you freeze eclairs or profiteroles? You sure can! You’ve probably noticed that the groceries are full of frozen puffs and eclairs that you can simply thaw and enjoy.
- It’s best to freeze eclairs or profiteroles unfilled as the filling can change texture upon freezing and thawing.
- Place the unfilled eclairs or profiteroles on a baking sheet lined with parchment paper, ensuring they’re not touching each other. Freeze them for a few hours until they are firm.
- Once firm, transfer them into a freezer-safe airtight container or a zip-top freezer bag. If stacking them, again, use parchment paper between the layers to prevent sticking.
- They can be stored in the freezer for up to two months. To serve, thaw them at room temperature, then fill and decorate as desired.
Remember, fresh is best when it comes to choux pastry, but these storage methods can help when you need to make them ahead of time. Enjoy your baking!
As an Amazon Associate, we earn from qualifying purchases. This means at no extra cost to you, PIATTO may earn a small commission if you click the links and make a qualifying purchase.
Discover More KitchenAid Stand Mixer Recipes!
- Moist Layered Carrot Cake Recipe
- Foolproof Easy English Muffins
- How to Make Fresh Pasta with a Stand Mixer
- How to Make Quick Pan Pizza
Easy Choux Pastry Recipe with Olive Oil | Stand Mixer Recipes for KitchenAid
Equipment
- 1 stand mixer whisk attachment, or hand mixer with the beater attachments (not the wire whisk)
- 1 medium saucepan
- 1 wooden spoon
- 1 large piping bag with large tips
Ingredients
- 3 ½ tbsp extra virgin olive oil
- ½ cup water
- ¾ cup white flour all purpose is fine
- 3 whole eggs
Instructions
- Preheat your oven to 400° Fahrenheit (210° Celsius). Line a baking sheet with parchment paper.
- In a medium-sized saucepan, combine water, olive oil, and a pinch of salt (optional). Bring the mixture to a boil over medium heat.3 ½ tbsp extra virgin olive oil, ½ cup water
- Once boiling, add in all the flour at once. Stir vigorously with a wooden spoon until the mixture dries out some, forms a ball and pulls away from the sides of the pan. This should take about a minute.¾ cup white flour
- Transfer the dough to your KitchenAid (or other stand mixer) bowl and let the dough cool slightly. Fit the stand mixer with the whisk attachment. Alternatively, use the paddle attachment if you prefer. This is not an overly thick dough, and so we prefer the results that the whisk attachment produces.
- Start the stand mixer on low speed. Start adding the eggs, one at a time, ensuring each egg is fully incorporated before adding the next. Increase the speed to medium (speed 4-6) as you add each egg. Continue to beat the mixture on medium speed until the dough is shiny, smooth and thick.3 whole eggs

- Now we are ready to shape or pipe our choux pastry! Fit a piping bag, fitted with a large round tip. Fill the bag with the dough, and pipe small mounds (profiteroles) or short oblong ropes (eclairs) onto your prepared baking sheet.
- Place the baking sheet in the preheated oven and bake for 25 minutes, or until the choux pastry puffs up and turns golden brown. It's crucial not to open the oven door during the initial baking phase as this could cause the choux pastry to deflate.
- Let the baked pastries cool completely on a baking rack before adding filling to them.
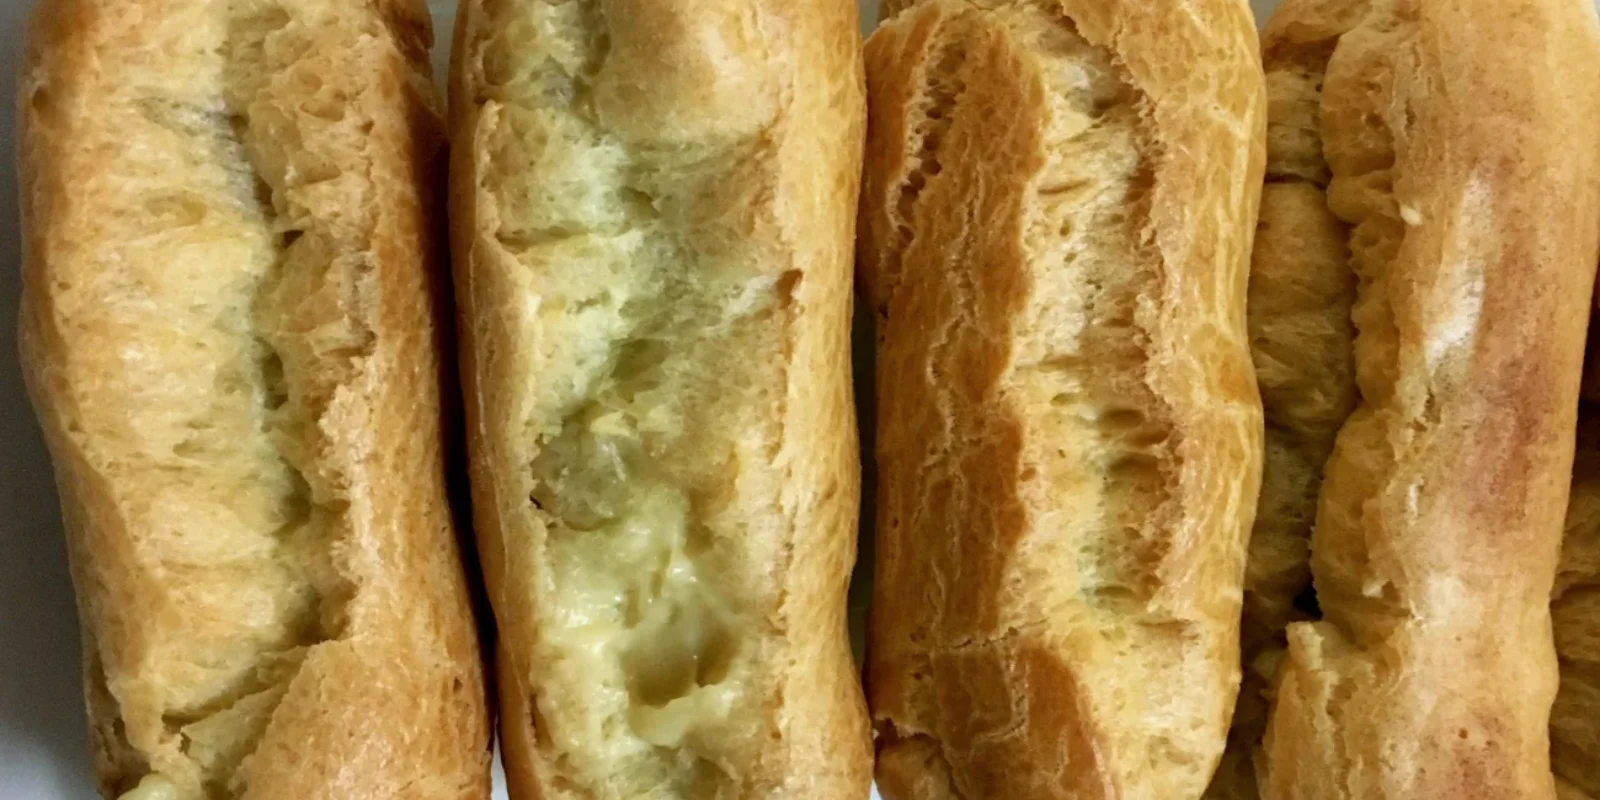
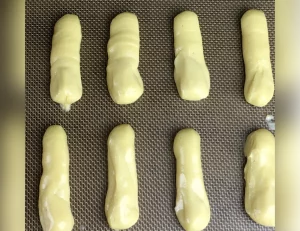
- There are two ways to fill your eclairs or puffs. 1) Slice each open horizontally and fill with the filling of your choice or 2) Fill a pastry bag with whatever filling you desire and pipe the filling into the eclair or puff. See NOTES for details!
Notes
- Start by ensuring your eclairs or puff pastries are fully cooled to prevent the filling from melting.
- Prepare your pastry bag with the appropriate filling tip. Usually, a small to medium-sized plain round or Bismarck tip works well for this task.
- Fill your pastry bag with the desired filling. If it’s too thick, it may not pipe well, so make sure your filling has a smooth, pipeable consistency.
- For eclairs, make two or three small holes along the bottom using a small knife or skewer. For puff pastries, you can make one hole at the bottom or split them in half, depending on your preference.
- Insert the tip of the pastry bag into each hole and gently squeeze until you feel resistance or see some of the filling emerge. This indicates the eclair or puff pastry is filled.
- Once all your pastries are filled, you can dust them with powdered sugar, dip them in glaze, or leave them as they are, depending on your recipe.