In this PIATTO™ guide, you’ll learn how to make clarified butter at home—for sauces, sautés and more!
There are many advantages to clarifying butter and it is such an easy process! Watch our video recipe below or keep reading to learn how.
Watch the Video Recipe!
Learn how to make clarified butter at home in this easy video recipe:
Subscribe to our YouTube Channel
More video recipes? Subscribe to our YouTube Channel (it’s FREE) and click the bell to get notifications when we release a new video recipe!
In Italian? Come Fare Il Burro Chiarificato
Why Clarify Butter?

There are many advantages to using clarified butter over regular butter. Clarified butter…
- has a higher smoke point than regular butter
- is practically lactose-free and is well tolerated by those with lactose intolerance
- longer shelf life
Let’s dig into each of these advantages:
Higher Smoke Point
The process of clarifying butter raises the smoke point of butter from the normal 320º- 350º F to 482ºF! If you try to use regular butter to sauté potatoes or cook steak, you risk burning the butter. This creates both an unpleasant appearance and taste and is less healthy.
However, if you raise the smoke point of the butter by clarifying the butter, you are left with a very useful ingredient for sautéing your favorite foods! That’s why clarified butter is a must-have ingredient in French and many other types of cuisine!
Lactose Free?
The components in the butter (casein and whey proteins) that we separate out and remove when clarifying butter are the components that contribute to lactose intolerance. So, clarified butter is usually very well tolerated by those with lactose intolerance!
How to Clarify Butter
1) Melt the Butter
Melt a bunch of butter in a large pot.

2) Boil the Butter
Raise the temperature until the butter is gently ‘boiling.’ Continue to cook until the butter stops bubbling.
During this time, the water will boil off the butter. Also, some proteins will rise to the surface (as foam) and others will drop to the bottom of the pan. This is the separation process: these components in the butter have different weights and so we want to remove the proteins that rise to the top or drop to the bottom.
When to stop cooking the butter? When the butter stops bubbling! It’s the water that boils and not the fat.

3) Remove the Foam from the Top
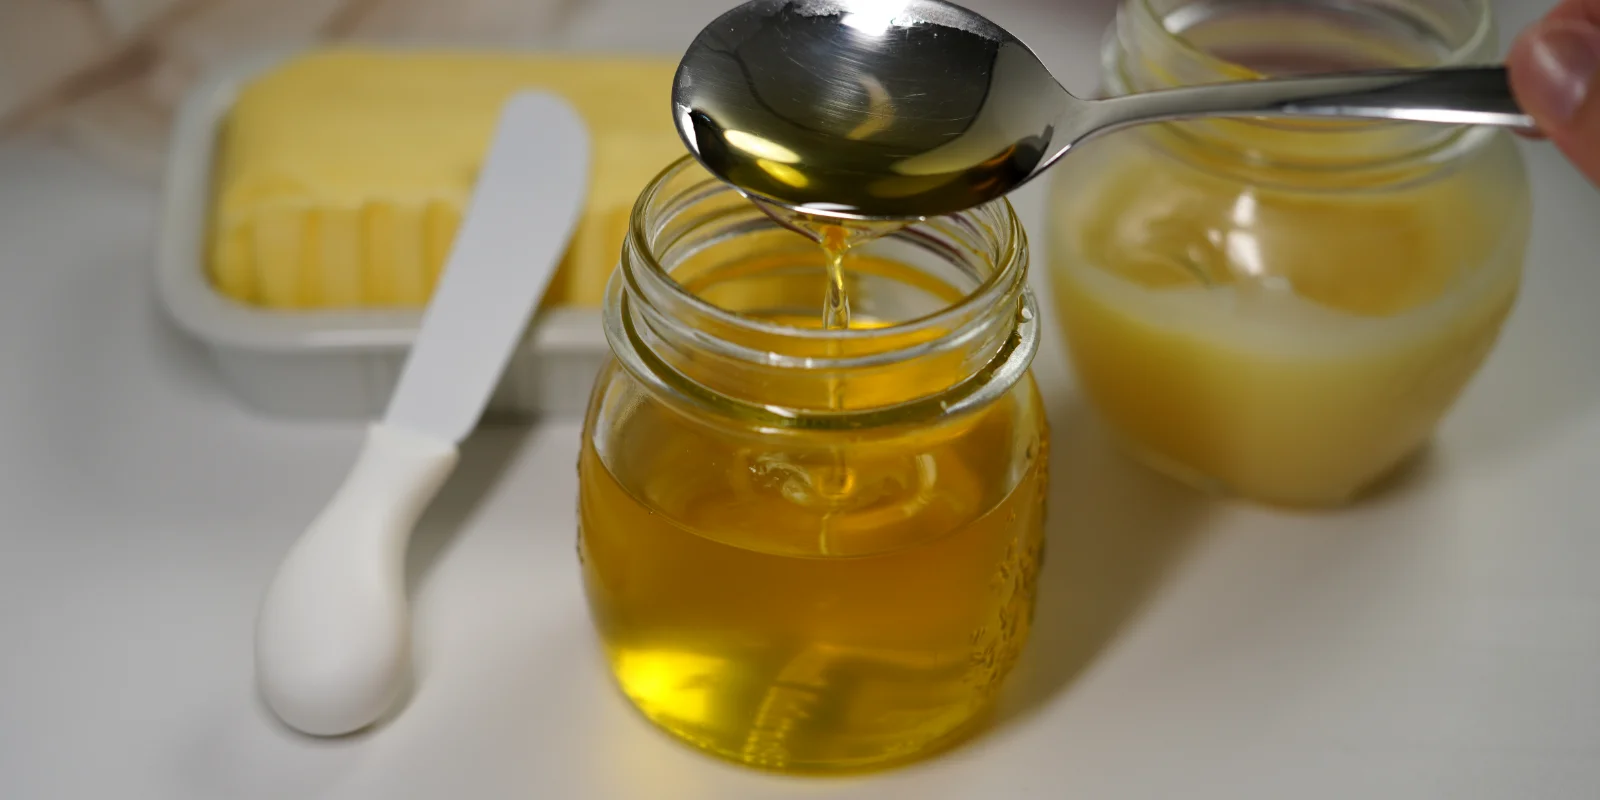
Remove the butter from the heat and let it cool slightly (to around 104° Fahrenheit) Then remove any or all remaining the foam from the top of the butter with a spoon.
The clarified butter will probably look amber in color at this point— but this is misleading. The tint comes from the gray color of the pot combined with the color that the proteins at the bottom of the pot are giving off.
Gently pour all of the remaining butter liquid to a bowl, leaving the solid proteins (usually an orange/brown color) in the pot.

4) Strain the Butter
At this point, the butter you have should be a clear, light yellow color. You can simply cool it and transfer it to containers for storage at this point.
However, to refine it further, simply strain the butter through a cheesecloth!

Storing Clarified Butter
Another advantage of clarified butter? It has a longer shelf life! Store the butter in the refrigerator for at least 3 months, a in the freezer for a year!
As an Amazon Associate, we earn from qualifying purchases. This means at no extra cost to you, PIATTO may earn a small commission if you click the links and make a qualifying purchase.
How to Make Clarified Butter at Home
Equipment
- cheese cloth optional (for ideal end result)
- Large Pot
- large spoon or ladle
Instructions
- Melt pieces of butter in a large pot.
- Boil the butter until bubbles stop forming. Then, remove the pot from heat.
- Let the butter cool a bit. Remove the foam that is on top with a large spoon or ladle.
- Pour the liquid into a new bowl, leaving any proteins (usually golden or orange-brown in color) in the bottom of the pot.
- Optionally, you can now strain the liquid through a cheesecloth to remain any final impurities!